I decided it was time, that I document my workflow for creating Lunar mosaics, this works very well for me, and I'm sure there are better ways of producing them, and I'm probably missing some tricks.
Firstly, setup, balance and polar align (although that's not 100% critical, I have aligned by pointing it in about the right place with a compass), and plug everything together. As long as the tracking is pretty good. If the tracking isn't pretty good, I think there'll be too much movement on an avi which will mean the mosaic won't be as good as it can be. Get everything running and tracking.
I'm using eqmod and a gamepad to drive my mount, the joystick makes easy work of moving around the moon, and I have to have a laptop to drive the camera anyway.
Adjust the exposure so you can clearly see the surface details (it doesn't matter if you have hot spots, the exposure will be setup properly later), aim for the terminator, the high contrasty shadows make this much easier. Rotate the camera in the focuser to make your job easier during capture. If the camera orientation follows the line of the terminator, it's much easier to build up the captures than if the camera is at a strange relative angle, and the number of frames you need will be less. Then adjust focus, taking plenty of time to do this, it's probably the most important aspect of setting up. I tend to move back and forward, through focus slowly until I think I have it right. Then, zoom in on the screen. The capture software I'm using has a facility to zoom up to 400%, but I'm sure there must be other methods available if the capture software doesn't have that facility, some form of software screen magnifier maybe, and repeat the process, making sure that at the zoomed level it looks sharp. Avoid over zooming though, as the image will start to pixelate making focusing properly next to impossible.
Now everything is focused, it's time to set the exposure. This is actually a tricky proposition as there are such significant changes in the surface brightness. If the capture software has a histogram, then make use of it as you move across the surface of the moon, you want to set the exposure so you're either, only just clipping the highlights, or preferably not at all, whilst at the same time, capturing details in the darker regions. Take a little time doing this, I normally run across 2 or 3 times to check. Once set, don't adjust it, or your mosaic will look a bit odd.
Get over to the terminator, start at the top or bottom, and start capturing. I normally use 1000 frame captures, and try to balance the gain and shutter speed to maximise the framerate, whilst keeping noise down, I don't think there is any one particular good setting for this, there are too many factors involve. I try to keep over 25fps/
There's a very handy little trick I use to make sure that I don't miss any bits. I discovered this by accident, but hey, that's fine. I was trying to work out how to take just the first frame from my AVI and put it into iMerge. I ended up loading the entire AVI. What iMerge does is just show the first frame. Obviously the image is not going to be looking it's best, seeing will have affected it, and it needs processing, but it gives a way of seeing how much overlap you have, accuracy is not too important in the mosaicing at this stage, but it's easier to see and messes with your eyes less if it's pretty close.
Now, as you capture each frame, you should be able to make a decision about how far to move the mount to capture the next frame, leave between 20 and 30% overlap, and start capturing the next frame. Then drag and drop the first avi into iMerge. Repeat this process until you have the first strip built up. I normally then just move across and start the next strip next to where I was, repeat until you have captured the entire disk. As you are building up a mosaic of the AVI's in iMerge as you work, it's easy to see if you've missed any bits and can go and cover them, capture these as you go, it's probably easier than going back later. As a precaution, if I find I've ended up with insufficient overlap (the panes are just overlapping) I'll grab an extra one to make sure there isn't a slight gap in there once processing is complete, cos by that point it's way too late.
Work quickly yet accurately. If you have any tracking inaccuracies, it can be harder to find your place again, when you have to refer to iMerge and study the image. And the change in the view of the moon will, if you take too long, leave you with some panes that are rotated, not impossible to deal with, but even more of a pain.
If very thin clouds pass through, I'd suggest waiting if possible, as they will affect your exposure settings, and you need to keep everything identical to make it the best you can.
Once you have captured the avi's, and making sure you have good coverage of the entire surface, close iMerge and discard the mosaic you built up. You can't use it anyway, but it makes a really excellent ready reckoner.
I do sometimes take a dark and flat avis to create reference frames for later, I'm not totally convinced this makes any real difference, and if I'm honest, my flats for this stink... and actually totally ruin the image so I've never used one to date. But given how little time it takes...
Now onto the processing.
Open Registax (I'm using 5.1), iMerge, and your output folder (where you will save the stacked images). Open the first avi, using the arrows buttons at the bottom, start looking through the frames until you find one that looks the best, click on multi alignment. In the new box that pops up, click on the estimate alignment tab, set the radio button to method 2, then click the estimate align points (I normally use the default box size of 64, it works for me). The image will probably become covered in a load of boxes, one for each point. If you're tracking is 100% spot on, I understand that it's better to set the matrix method and using the boxes at the bottom of the tab set to 10 and 10, then click estimate, although I have had odd effects show up from using this where empty space is visible or when I've got some drift through the avi. Once you have the alignment points, click the align button. Some time later, depending on how many points and how fast your computer is, the alignment will be complete, and registax will have calculated what it thinks is the best frames based on the percentage for the method used. This always seems to come out at 85% for me. I use the slider to limit to 200 or 250 frames from the avi, then click optimise and stack. I know this doesn't use a reference stack of the best frames, but having tried that and found that it doesn't help me, I've stopped doing it.
Once the optimisation and stacking is complete, Registax will take you to the wavelets screen, this is the sharpening tools, they are very powerful and very easy to over use, so I need to be gentle. I work out a set of wavelets that give you the best result, then save them. At the bottom of the wavelets tab, there's a button labelled save scheme. Click it and save the scheme, this way you don't need to remember the settings you used, as you need to use the same settings for every frame to keep them all consistent, when each avi is at the wavelet stage, having followed the same process with each to this stage, under the wavelets, there is a drop down box, the saved schema from the first pane should show in the drop down list, click it, select the scheme, click do all and proceed as before. If the schema does not show in the drop down, click load, select it, and it will be in the drop down from then on. Click the final tab, perform any cropping needed, I normally have to crop a small amount around the edge to remove a small white border, and save. Save the file to a separate folder from the avi, I just find this easier.
Close Registax, reopen, and repeat with the next file. Whilst this is aligning, load the saved image into iMerge. Nothing much to do with the first one, then the work begins with each after that. Load each saved avi, I just drag it in from explorer, and do a rough alignment, you should be able to get pretty close. Then making sure the zoom is at 1:1 (default mode is adjusted with the mouse scroll wheel), click onto a pane already in the image (don't move the mouse as it'll move the pane), then click back onto the new pane. You should get an idea of what direction and how far to move the new piece to line it up. Adjust and repeat. Do this until the image is lined up as near to perfectly as you can. Then check with any other panes that this new piece might be adjoining, you should find, if they've all been done carefully then they'll be spot on, if not adjust until they are. Continue working through until you have completed building the mosaic. Save the image from iMerge. I save the mosaic project as I'm going along, but one gotcha I've found with iMerge... if I use the file save option, the project is not saved. Only use the save as option and select to overwrite the orhttp://www.blogger.com/post-create.g?blogID=8449184461236146969iginal. Although if you just work straight through all the avi's this shouldn't be too much of a problem.
Once the mosaic is saved, I load it into an editing program and adjust to suit. I normally apply a small contrast boost with curves and one or two, very gentle, high pass filter sharpens.
There are quite a few example posts through here showing the end result..
and
Contain a few
Friday, 23 July 2010
Creating a Lunar Mosaic
Sunday, 11 July 2010
Noctilucent Clouds - Friday 9th July
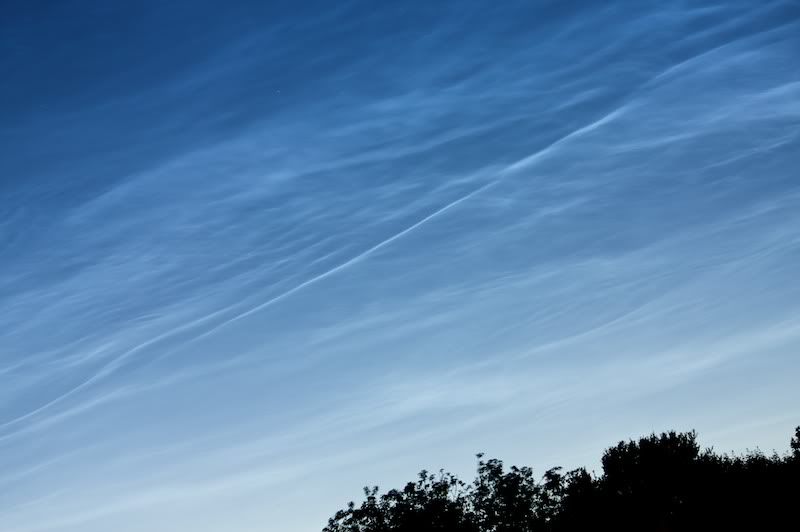
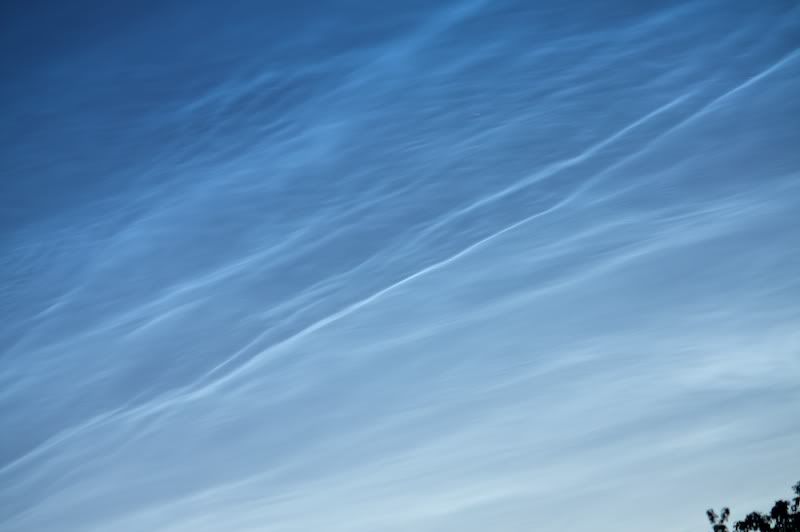
I was sat in the garden on Friday evening, soon after the sun had set, I glanced up and could see some faint hints of slightly glowing ripples in the air. I grabbed some binoculars for a quick check, and yes, NLC's. The fact I could see them from the back garden, without having to squeeze right into the corner to get around the tree meant this was going to be a wide display. I dashed in, grabbed the camera and tripod and headed over the road to see what I could see and shoot.
Anyway, it turned out to be a really good and wide display...
I shot a number of Panoramas
6 pane pano, shot in portrait
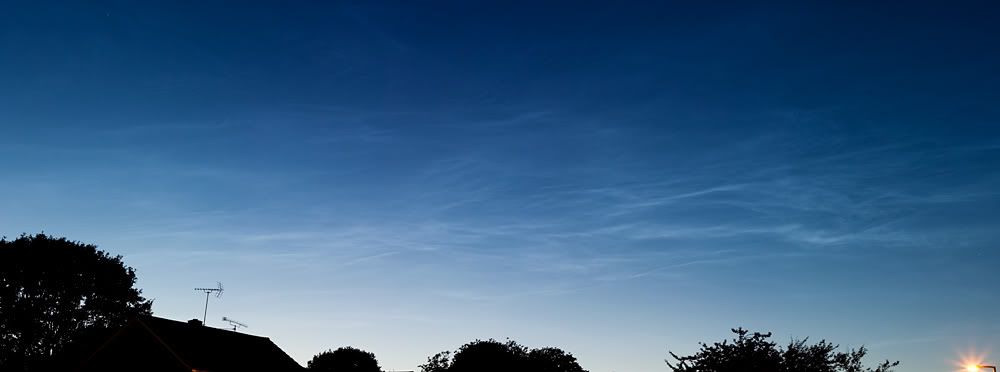
4 pane pano, shot in portrait

3 pane pano, shot in landscape

8 pane pano, shot in Portrait

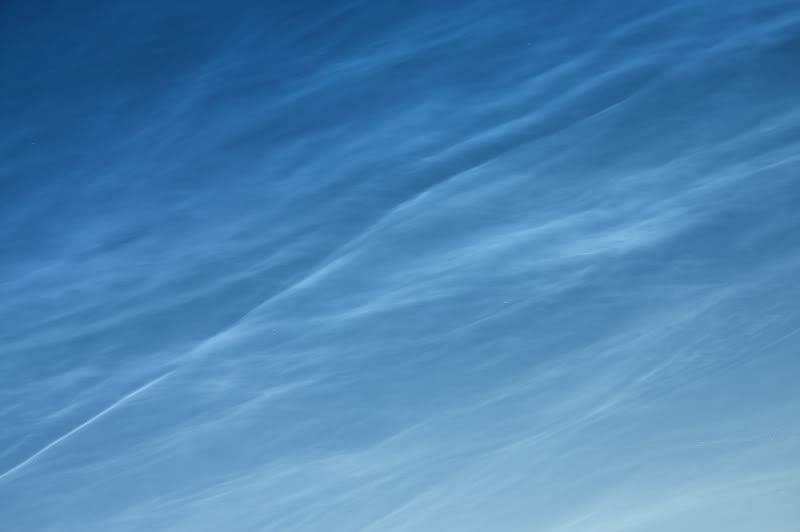
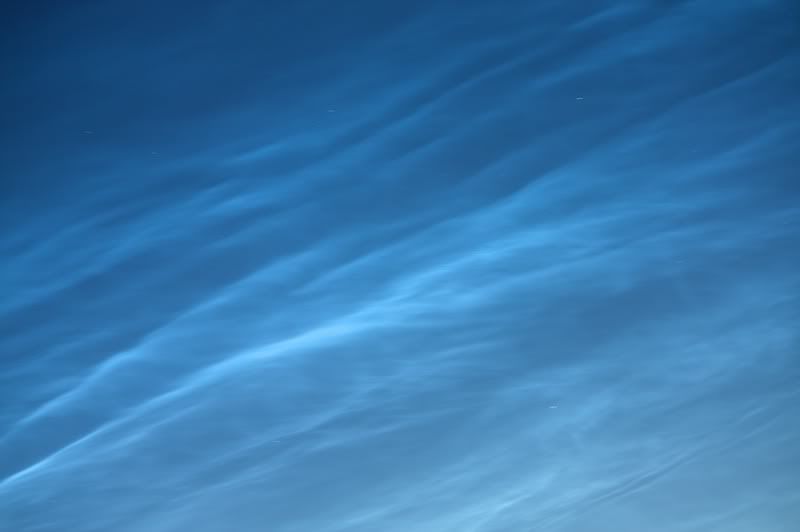
I also used the 55-250 to zoom in and capture some detail
The Moon from the 22nd June
A bit late, but I'm just not getting time to get updated at the moment. Ho Hum. Anyway, on the 22nd June, I had a chance to have a go at another mosaic.
I got the kit out, and with a polar align done by pointing a compass and roughly making the polar axis lie in the track of the needle (a deeply accurate method I don't think). I connected all together and checked the views. The moon was very low (about 14 degrees) and that introduced it's own set of problems (the moon looked like it was under fast flowing running water). Still... having got setup I thought I might as well capture some frames with the C80ED, QHY5v, and I used my 2x barlow to get in a bit closer.
I set out to capture a mosaic using the 12-10 bit companding mode... this produces more detail but at the expense of a much reduce dynamic range... I'm still undecided on the merits of this mode... as the normal 8bit mode I can drive at higher frame rates.
Anyway... this is a 25 pane mosaic, each pane is 250 of 1000 frames, stacked and wavelets in Registax 5.1, merged in ICE. There were some exposure variations that cause some serious problems using the usual manual merge process with iMerge thanks to the changing sky conditions as the sun set.
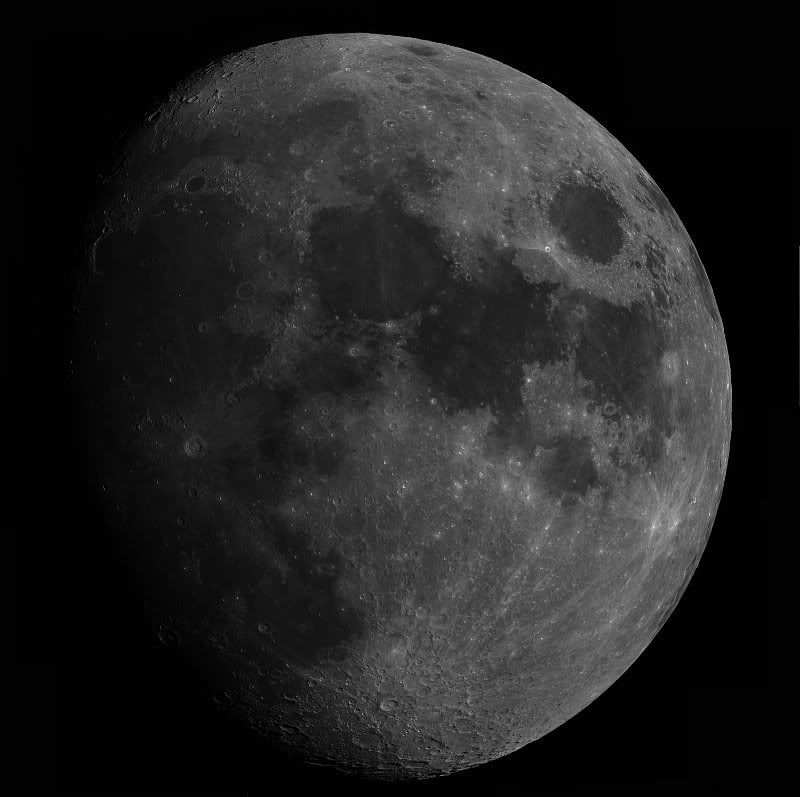
Click for full size.
I then put some tubes between the barlow and camera, refocused and had a play at higher magnification. A complete nuts idea given the altitude of the moon, but hey... I was there, the kit was there, the moon was there... so why not...
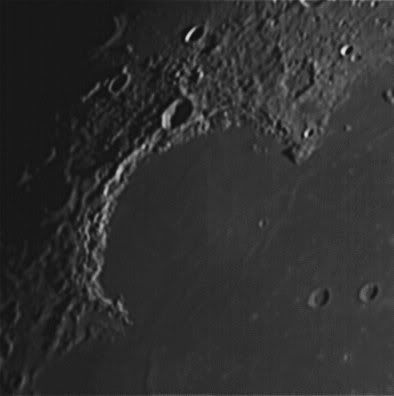
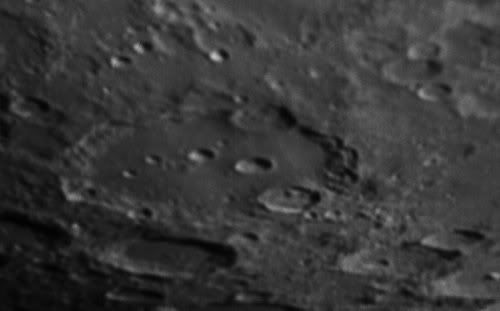
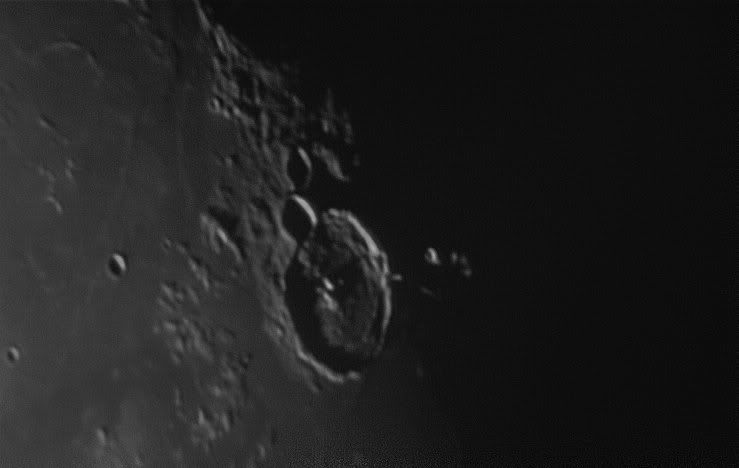
Anyway.. Each of these is 250 of 1000 frames. I used the ROI settings of the capture software to get a higher frame rate also.
Herschel
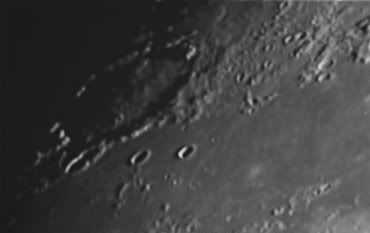
Sinus Iridium (Bay of Rainbows)
Clavius
Gassendi
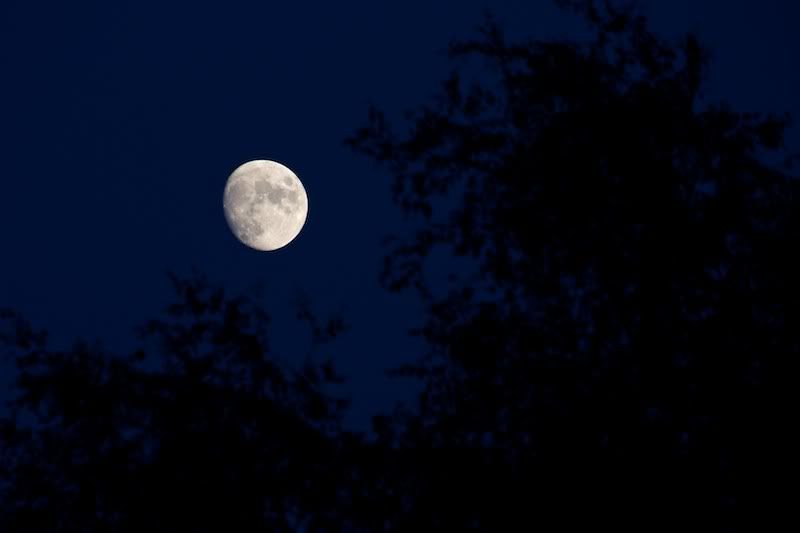
And finally, one a little more recent, a shot of the moon, rising out of the trees
