It's been a while since I've had an opportunity to post, so this is going to cover a few items.
So firstly, There was a close conjunction of Jupiter and the moon, so I grabbed a shot at 250mm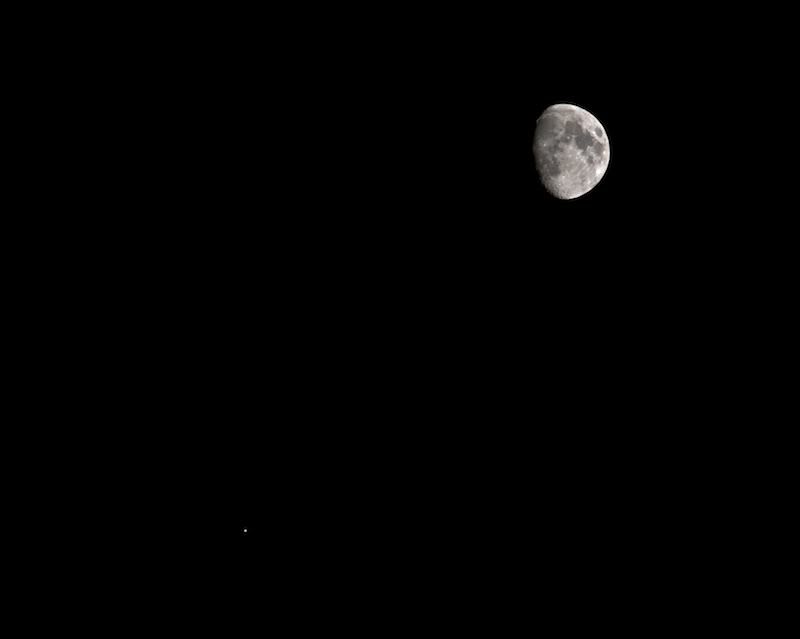
And just to check I could still do it, a handheld 250mm shot of the moon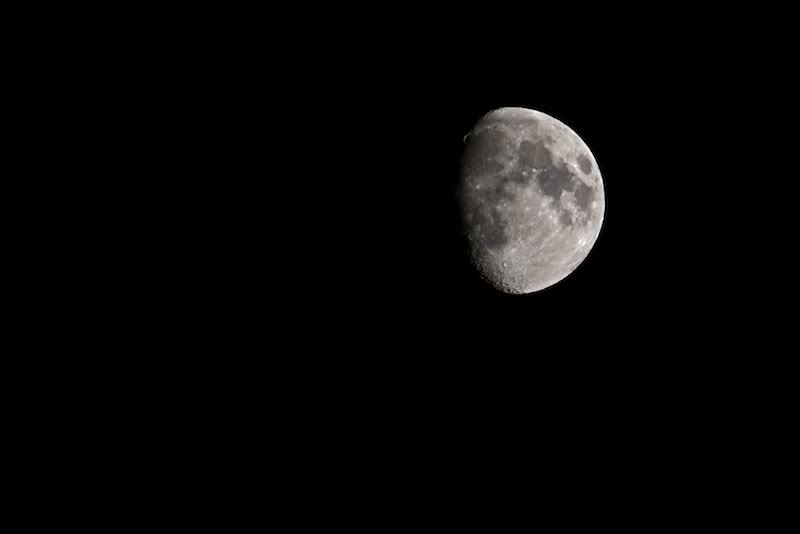
Over the course of the last couple of weeks, I've been able to grab a few shots of the moon with the 450d, a 2xTC, the C80ED and my camera tripod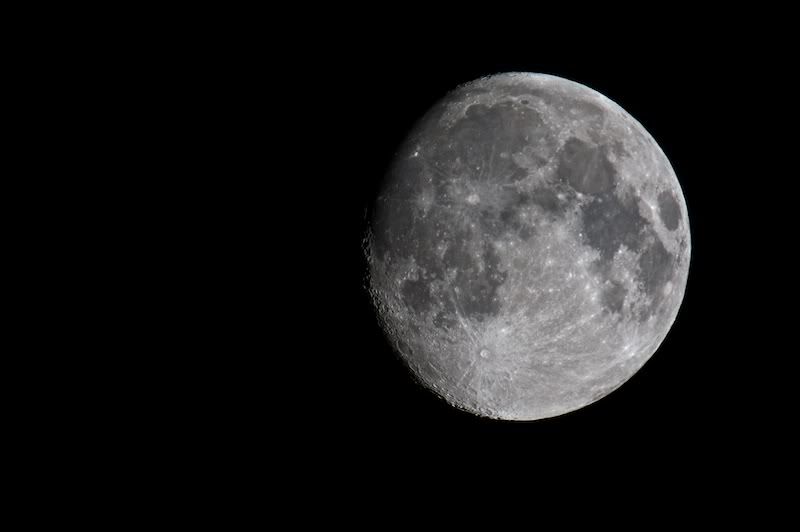
and in colour, testing out some of the features of Aperture, I think this is possibly my best to date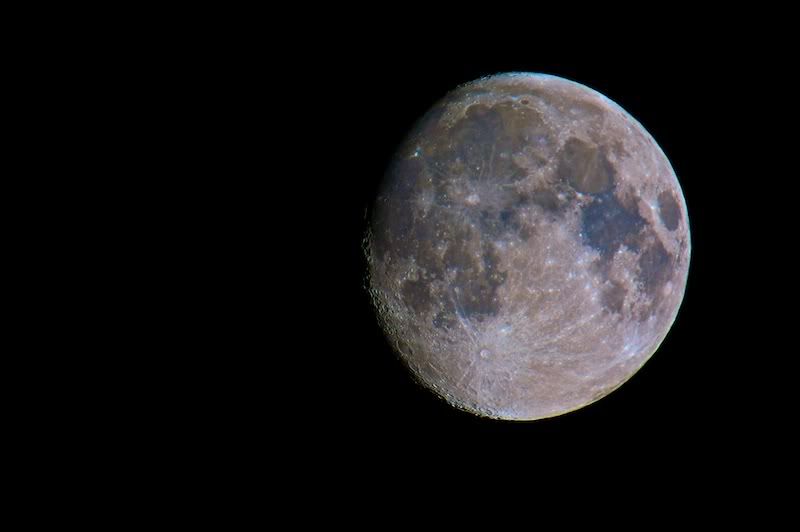
One on a misty night, the mist processes out nicely with a wallop of contrast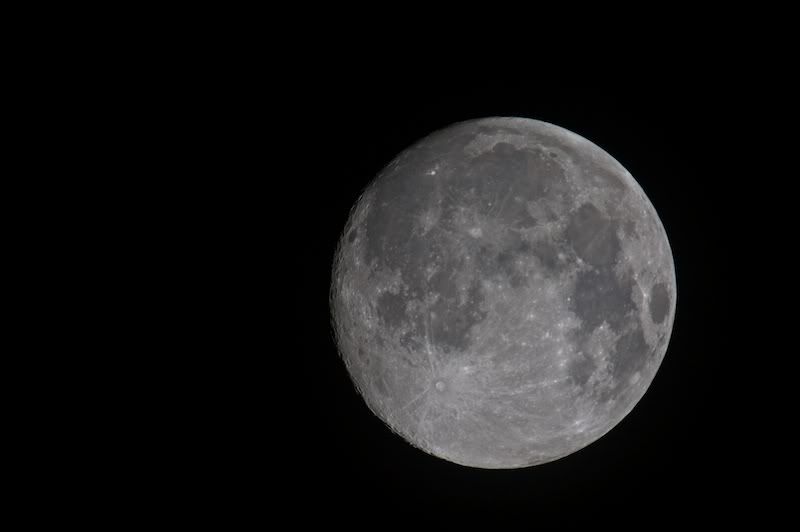
but here's the unprocessed version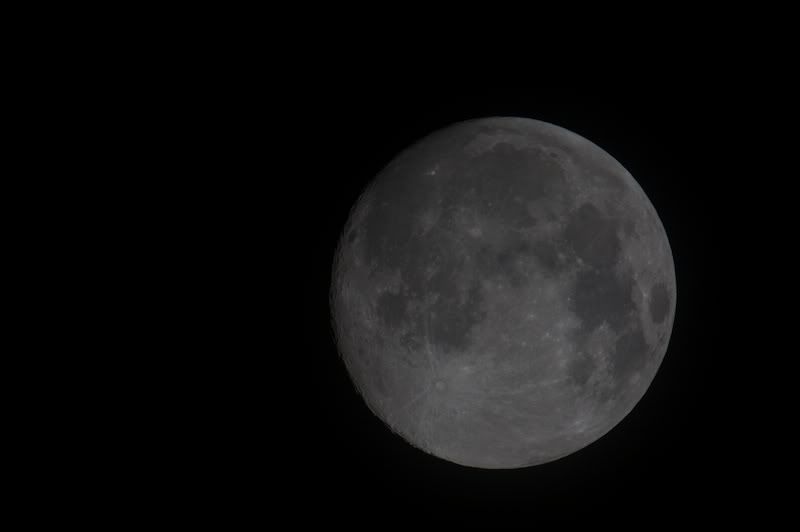
And then, a lovely moon against the daytime sky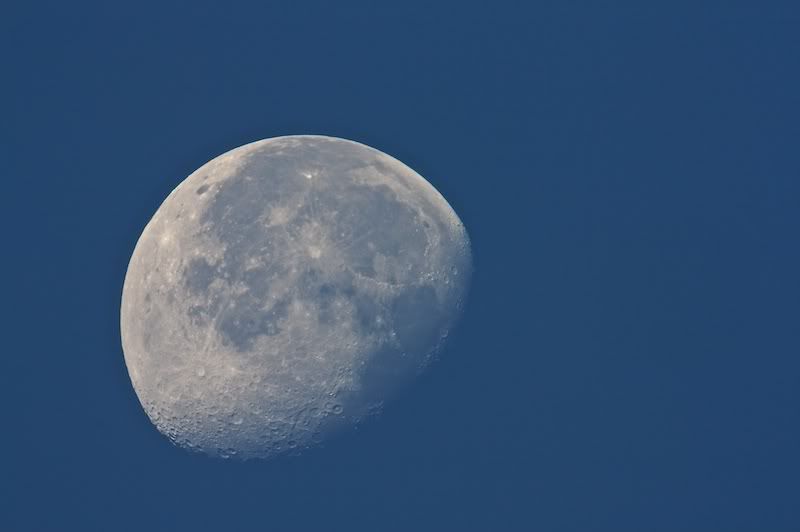
I was also able to get out for a little webcam action in between the clouds one night. Thankfully, the Skymax SLT combo, is small, lightweight and very easy to setup, as this means it can be done very quickly without any need to see Polaris.
These are not great, but if I remember correctly, the clouds were being a pain. I'm also at about the limit of my little webcam, I'm not sure what to do really, I'd like an imaging source cam, but that's not going to happen at the moment..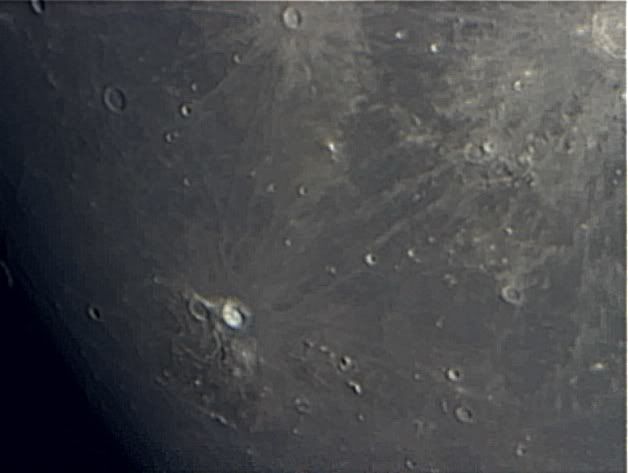
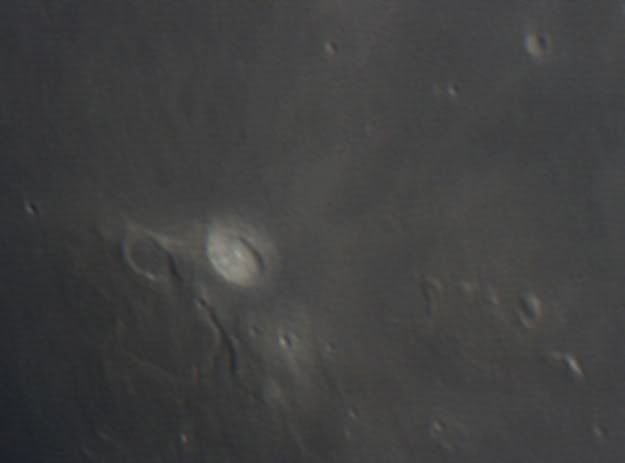
I don't know why, but I really rather like this area of the moon.
I also had a short visual session with my youngest one evening, before the clouds moved in. Jupiter was low in the sky, but we'd been talking about it, why the moon and Jupiter were lit when we had night time, and that you could see the main bands quite easily. So I got the C80ED setup on my camera tripod on the driveway and we had a good look at Jupiter and the moon with my 5mm Hyperion. The bands on Jupiter were clear and three moons were visibly. I did try pushing the power up with a barlow, but the seeing, and the lowness meant it was way too much power. But never mind. With the simple expedient of drawing a line on the drawtube with a pencil, putting the scope back into focus for the SLR was a doddle, and in fact, it turns out that the Hyperion with diagonal is almost parfocal with the SLR and 2" extension tube.
And finally, we had a clear night, decently clear too, so that I could see the milky way unaided. I couldn't quite make out M31. So I carted out the rig for a run on M31. Everything started well, level and PA'ed easily. A quick check of focus and all good. Manually set to M31, but not on the chip... I decided I couldn't be bothered trying to work it out (what with lights still being on in the house, so setup CdC and ran a 3 star align. The first problem hit me... The joystick on the gamepad only worked on one axis... Gonna have to see if I can fix that. Using the touchpad on the laptop for fine adjustments is a real pain. Still after a few minutes, all aligned, so slew to M31. Plonked almost in the centre of the viewfinder, so a quick ISO1600, 60s test frame to check, and I set PHD off to work. Using a 1 sec loop was more than enough to locate a guide star, in fact, I could see the core of M31 on the screen. Anyway, guiding off and running, I setup to take a sequence of 6 minute exposures. I opted to use ISO400 as an experiment, and to see if the higher dynamic range of the sensor would make any difference, it did, but more on that shortly.
After a while, and a check on power, I realised the battery on the lappy was going to run out, way before my powertank... that's a first, I'm not sure why, but my powertank now seems to be working better. I really do have to sort out mains power, but I want to get a large plastic container big enough to house the lappy and keep the dew off, although the simple expedient of hanging a tea towel over the LCD worked a treat on this occasion.
Then I hit my next issue. Whilst taking flats, the CLS is making for much longer flats, the CLS clip filter, decided it didn't want to clip anymore, and I heard it fall down inside the OTA, bouncing on the baffles as it went. All I can see is it's a good job the baffles were there, as they prevented the filter smacking into the back of the objective. Of course, with the clip filter no longer in the camera, there was no point trying to capture any more flats, if I tried to put the filter back, the orientation would be different. I removed the camera, and capped it, popped the rear cap on the OTA, and carefully pointed the lens at the Zenith... the filter fell back on the soft plastic of the rear cap, undamaged... phew...
Then after clearing up, I downloaded the images, and set to work on processing. Then the problems really began. I kept getting a weird grid showing through the image. First stack was Lights and Flats, as I've done for the other images. Obviously something was going on, so I put my Bias master frame in, still there.. Odd... I setup the camera in the garage and took a sequence of darks, still there. Each occasion, involved two attempts at processing post stack. In the end, I took the final stack, and tried to be as gentle as possible, yet push the data as far as I could (all good processing experience) and I managed to not bring the grid out. The noise was astonishing, given that ISO400 should induce less noise in the subs. I can only conclude that whilst ISO400 is less noisy in capture, the lower amplification of the signal in camera meant that to get the data out required far harder stretching, and I know from ordinary underexposed captures, this shows a lot more noise in the shadows...
After that experiment, I'm going to go back to using ISO800 and stay there. The noise and image is easier to deal with... Anyway, here's the end result. 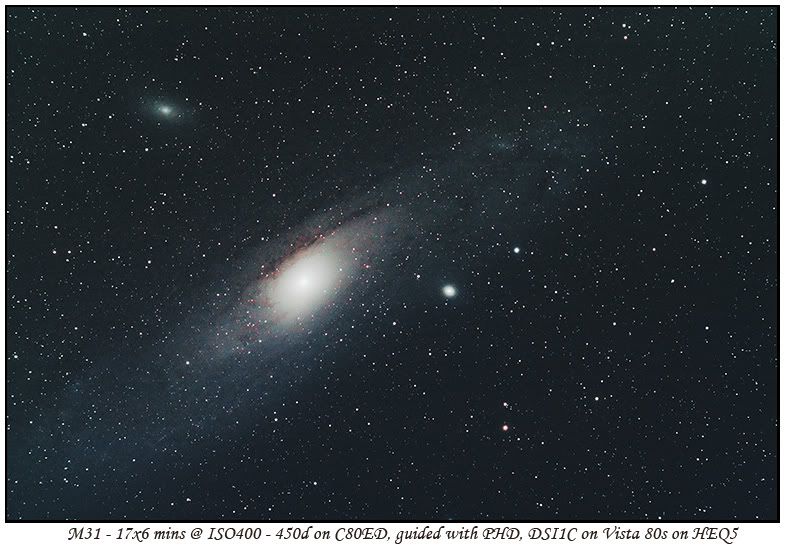
Now, I want to get more data on this one, another night at ISO800 should do it... Then onto M33, and after that M45... I want to get the Merope Nebula.
Sunday, 11 October 2009
A general update

Wednesday, 30 September 2009
Testing effectiveness of ISO
After reading a lot of discussion around which ISO is best for Astro imaging, I decided to try an experiment. So, armed with the camera, 18-55 lens, a tripod and timer remote I set out to find out. I took a sequence of 5 shots each at ISO's of 100, 200, 400, 800 and 1600 (the entire range) and combined each set in DSS. The bad news is, the sky conditions were not identical in each image, there was clouds shifting through, a plane joined in the fun. Hopefully though, this won't be a problem.
Each stacked image was stretched and contrast adjusted, using curves only, nothing else has been done. No NR or any other processing. The stretch in each case was stopped when, I could increase the result no further without clipping the white point for the brighter stars.
My intent was to try and get each image looking as close as possible to each other in terms of viewable data.
ISO100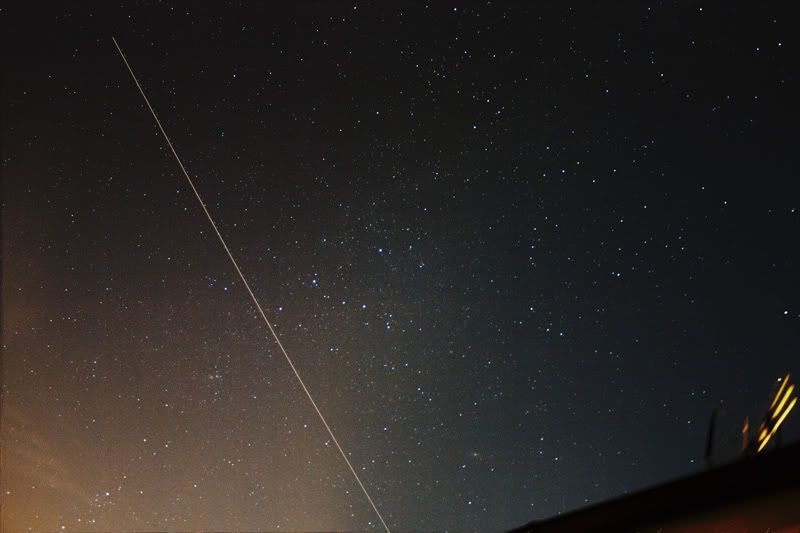
ISO200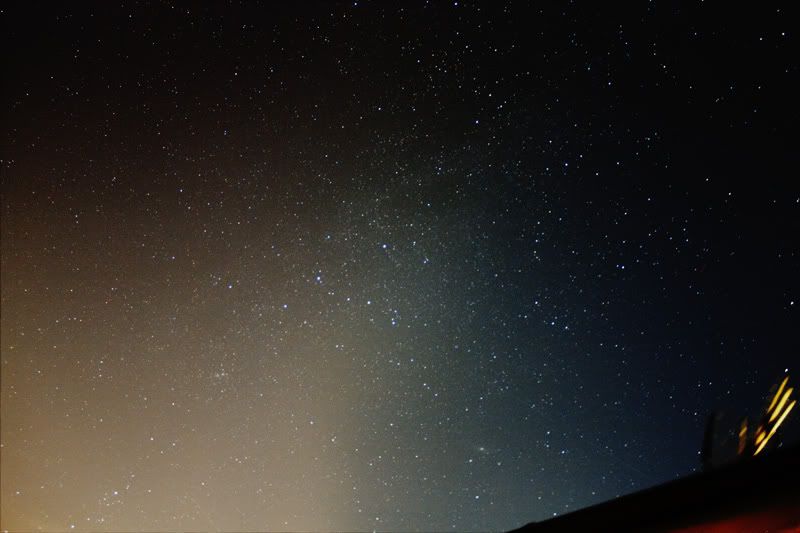
ISO400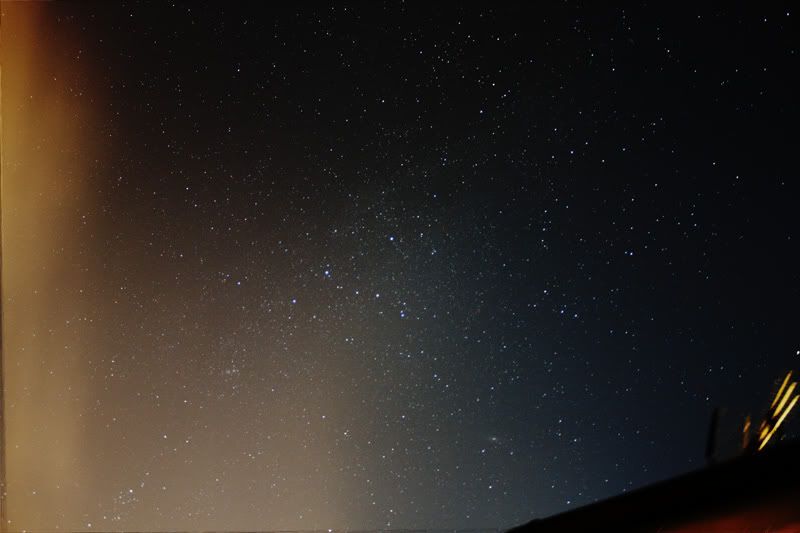
ISO800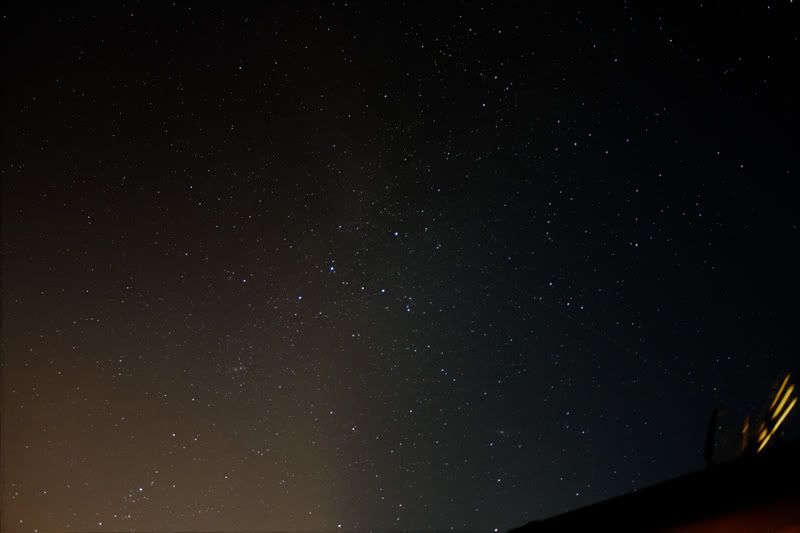
ISO1600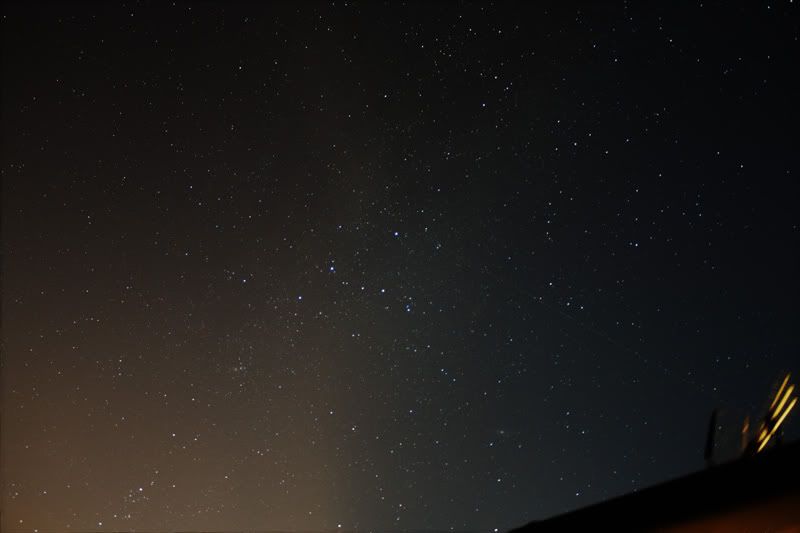
I know I have a gradient and various foreign objects in each image, but I don't think that's an issue for this test. Something that did surprise me, despite the various conversations about when the ISO adjustments are applied is the amount of data that I was able to pull out at ISO100. From these images, my first impressions are that 200 seems to be optimal, both in terms of the amount of content and colours retained.
I then cropped the same (ish, without allowing for field rotation) from each image at about 100% for a peek at the pixels...
ISO100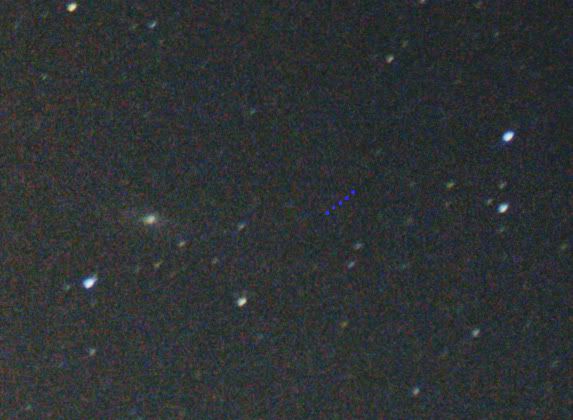
ISO200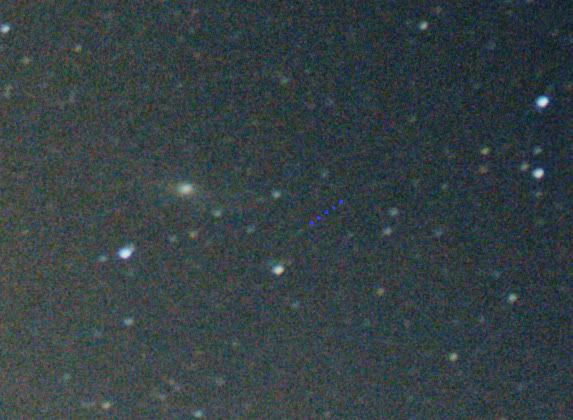
ISO400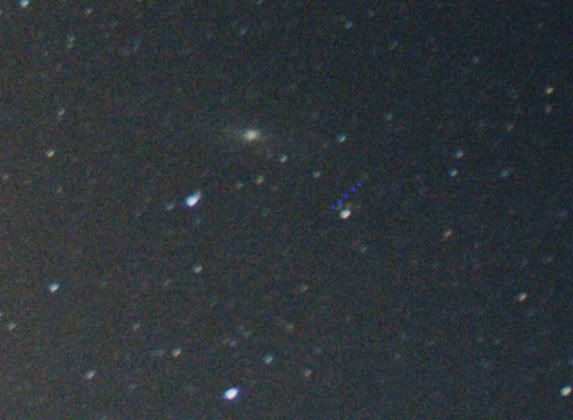
ISO800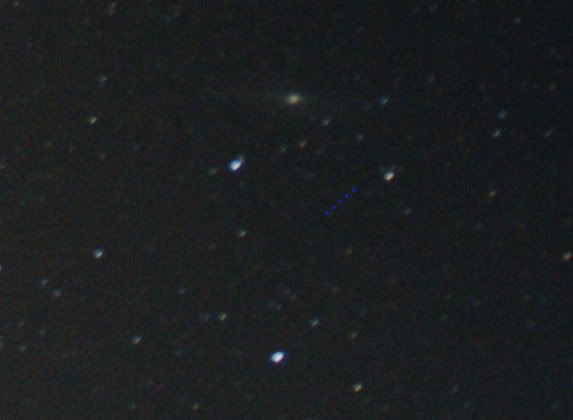
ISO1600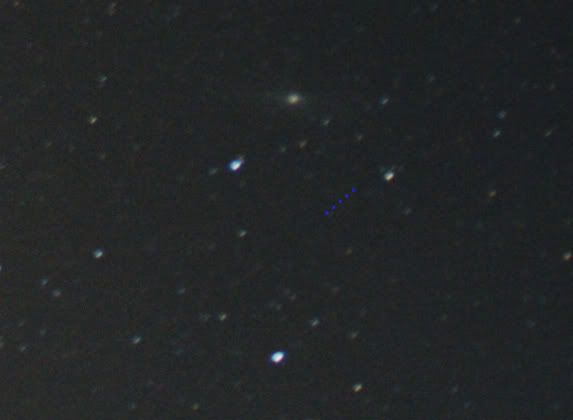
From these, the additional stretching required on the lower ISO's has introduced more noise in the background, which is kind of what I was expecting, from playing with daytime images and pulling shadow detail out in processing. I think this also shows, I wasn't able to apply the same amount of stretching to the higher ISO images, as I stopped just before clipping the white point. However, all told, I think, for me anyway, that ISO800 is probably easiest to deal with.
I'm sure there are flaws in my testing, the edits were all done at silly o'clock so it may be that more stretching would be possible on the tif's for each ISO. I also can't be certain that each image was fully stretched to it's limit.
Reworking old data
I've been spending some time over the past few days reworking old data. For several reasons, 1) I've got nothing new to work on. 2) To see what I could do with some new tricks I've discovered. 3) To see what effect a couple of changes to the stack made with new information I've read.
Well, first off the stacking. As I've found that darks actually seem to detract from the faint stuff in my images and in fact make noise processing more difficuly, I decided to remove them from the mix. I also read that dSLR's automatically subtract a Bias frame from each image taken. I've only seen it mentioned in one place, but given that when I include bias frames in the mix, I get odd results with horrible green casts (without using a CLS filter) this correlates nicely.
So first off, I went back and redid my M81 M82 data. It took a few goes to get it right, but some tips I found, in the end set me on the right path
Here's the original for reference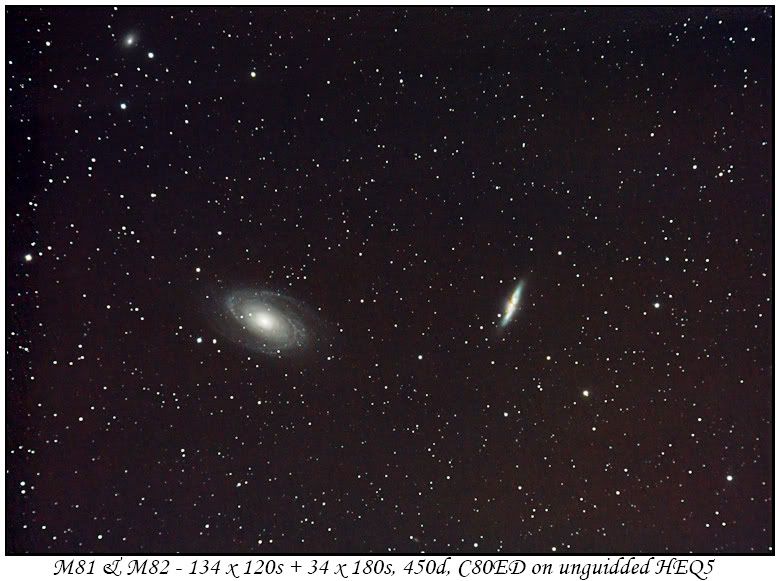
The first attempt, where I've overdone the processing...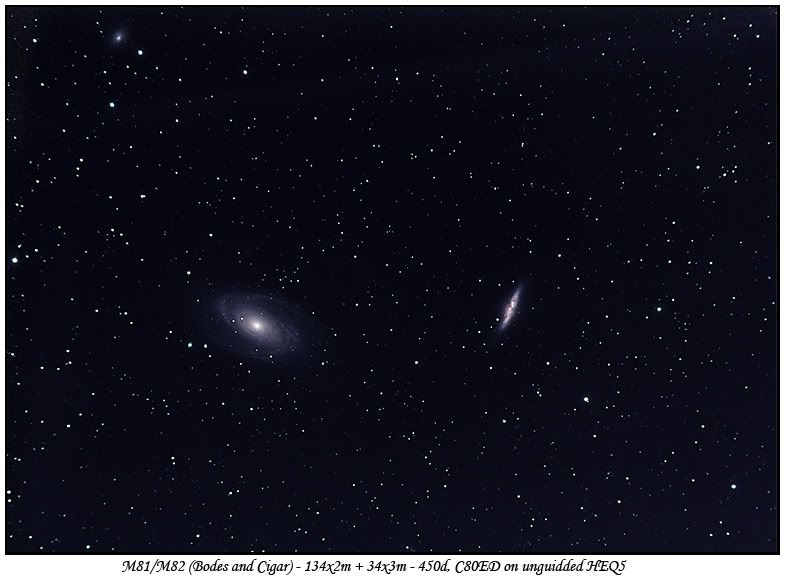
Then refining a bit more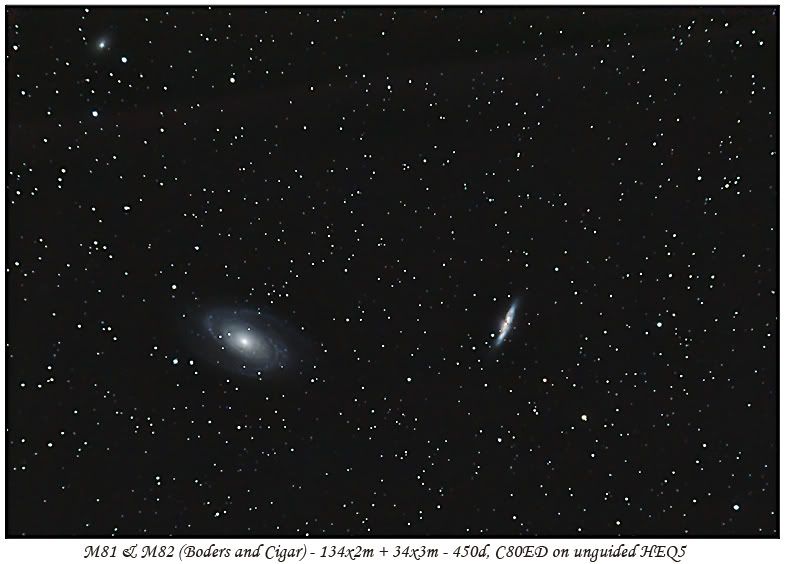
and finally, about as good as my processing skill can get it at the moment. I'm sure that at some point, I'll be better at this, and will also grab some more data to add, and can therefore improve it further.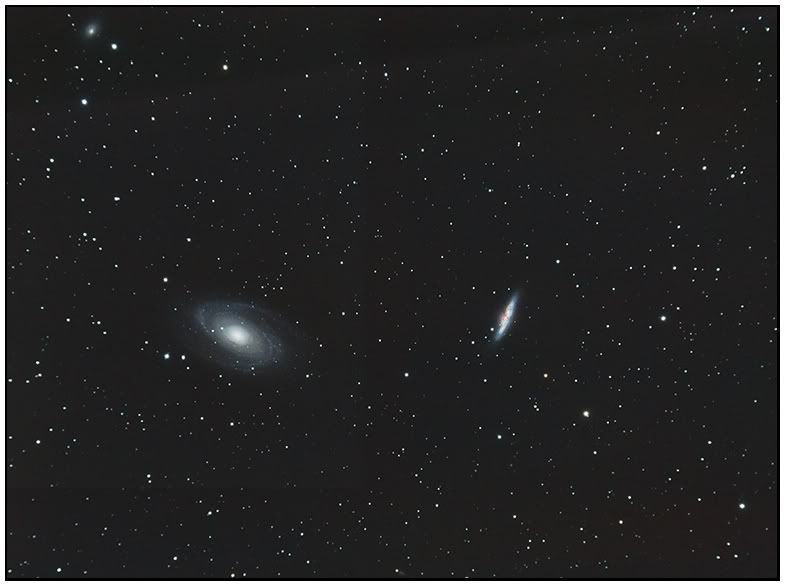
I know I've got some oddities in the background on this, that's caused by the odd overlaps between framings over three nights. That's something I do need to work out how to deal with it, but I'll get there in time.
I then moved onto my M51 data. This was originally processed with no darks, but including bias frames, and the green cast is pretty obvious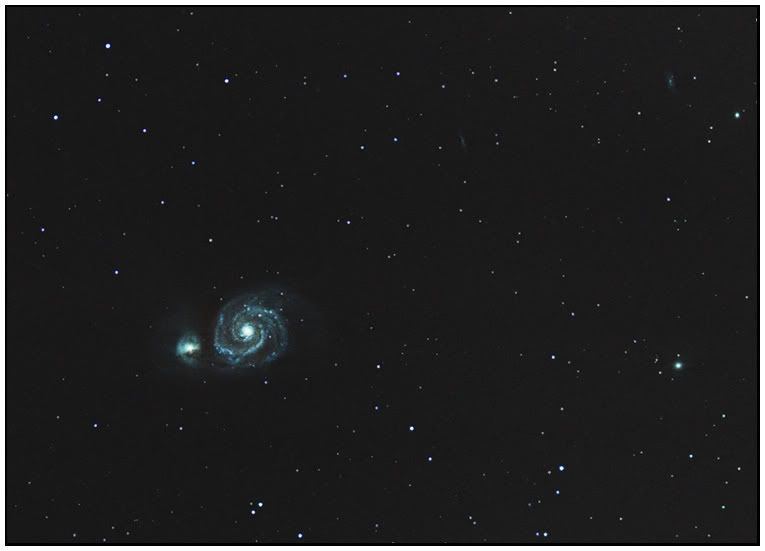
So, restack, and reprocess, using a similar process overall to the last M81/M82 I ended up with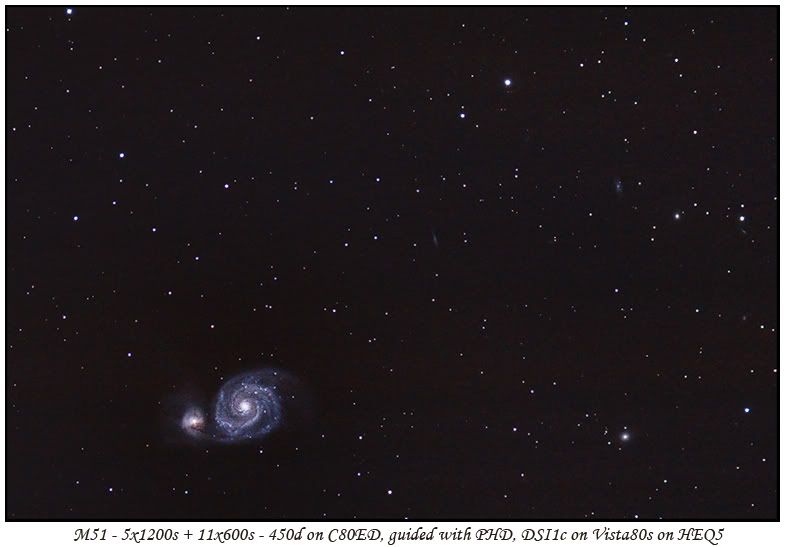
This time, however, I didn't crop the image, but used the DSS Drizzle feature to enhance the image scale. It's worked, but I'm not sure there's much benefit over cropping to be honest. With cropping the stars in the background remain smaller, but with drizzle they seem to grow a little...
Here's another experiment, but this time with 3x drizzle instead of 2x, this was just to see what the effect would be, and if it was something I could use and get away with in future. 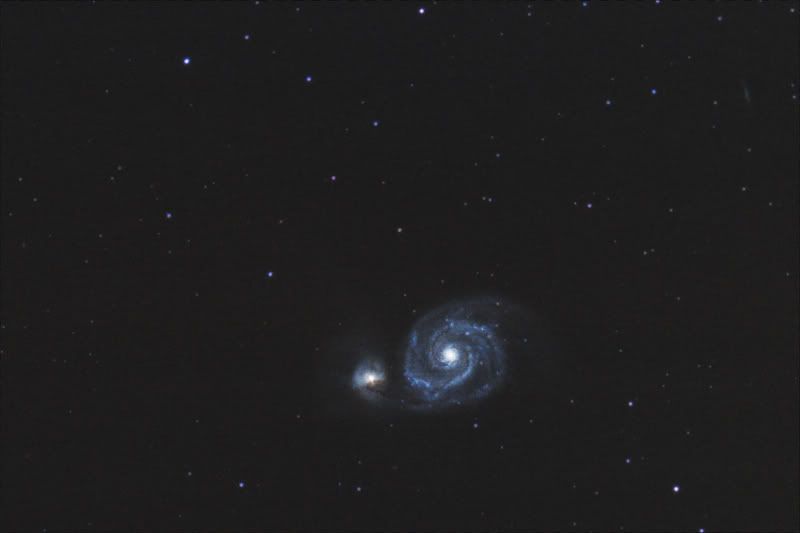
It's got potential, but I'm not 100% whether it'll be that useful.
Playing with the Jupiter data
I've had a bit of a play with the Jupiter data, aligning the RGB channels amongst other things and it's made quite a difference. I've also managed to get something out of one of the barlowed avi's, it's pretty rubbish really, but it's the first time I've had anything from using the barlow..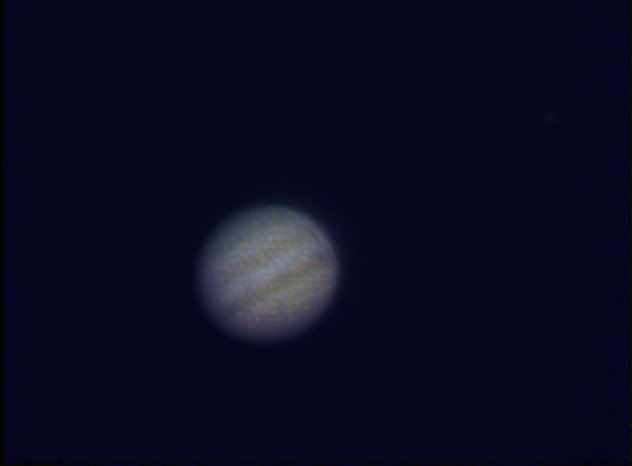
and the redited originals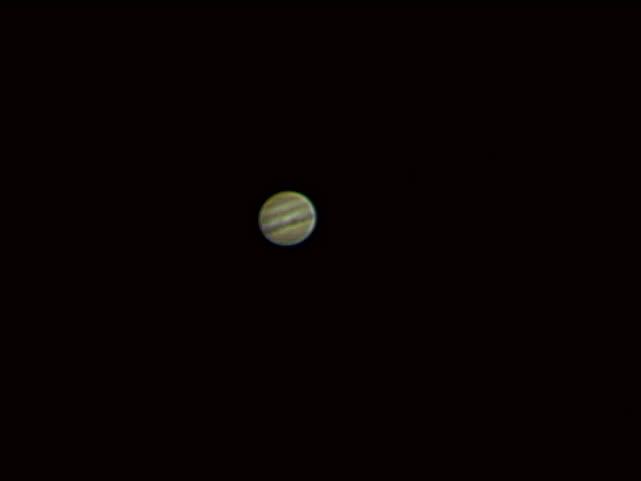
This one being my favourite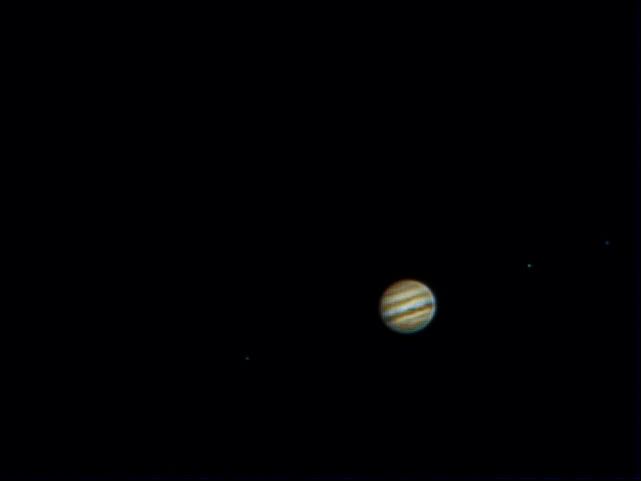
Friday, 18 September 2009
First Jupiter
Had a smallish window of opportunity last night, about 30 minutes of outside time. I couldn't be doing with setting everything up, so I popped the Skymax SLT out for a play with Jupiter. I gave it about 40 minutes under a black bin bag (me trust the weather... not likely!!).
I shot 5 AVI's with the SPC900... two are so much mush, the seeing was carp and with the 2x barlow, that was just too much power under the conditions, one was to bring out the moons, but I can't be doing with trying to align everything so didn't bother processing that one. Here's the other two...
1202 of 1202 (I don't now why Regi did that unheard of here)..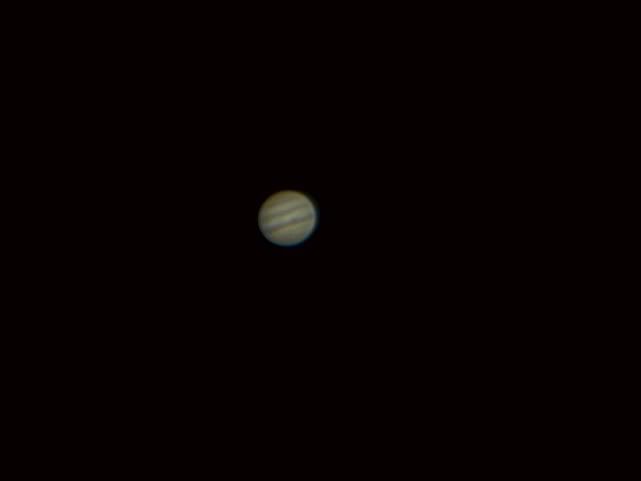
579 of 1204 (the moons weren't added.... they were captured in the AVI)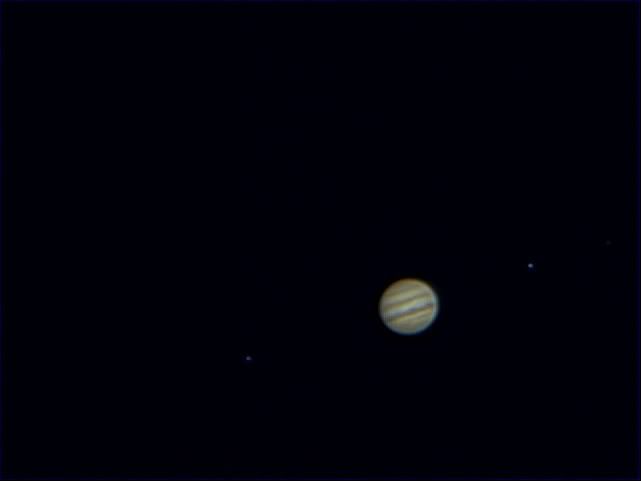
Ah that was fun... I needed that.
Saturday, 12 September 2009
Getting back in the saddle
On the 12th, I had a clear night, and decided to get out the rig and run some tests. First off, getting out the rig was tricky, but with a lot of care (having a bad back really doesn't help), in pieces, I was able to get it all outside and setup. An Obsy really would make this much easier, but I don't have room... never mind.
I checked the level and this was spot on without adjustment, then powered up and polar aligned, amazingly I'd plonked it down so there was only a very minor adjustment on the Azimuth adjusters to get alignment. A check on focus, and a tweak on both the guidescope and imaging scope (although I'd added the TC to the imaging side to get 1200mm and really push the guiding) and good to balance. Started trying to balance the mount, and then my troubles began.. First off trying to get my head around what needed to be moved where with the dual mount bar. Gotta say, balancing with the scopes piggy backed was a lot easier. It did my head in for a while till I discovered that a) I needed to add the second countweight... (not more damn weight)... and I had to re adjust the C80ED tube rings. Being a bright spark, it occurred to me that putting the tube rings as far apart as possible was a really good idea, being more secure etc etc. Until that is, you find that you can't actually shift the OTA and camera far enough forward to get balanced... So in the dark, I dismounted the C80ED with camera and 2x TC still attached (I didn't want to adjust anything around the focus again), grabbed some tools and a camping lantern, and set about moving one of the tube rings along the OTA and dovetail and locking it back in place. I've gotta say this is not the worlds easiest DIY job in the dark (thankfully it wasn't cold to go with it).
Once the rings had been adjusted, allowing more play in the scope position, I was finally able to balance everything out. Phew. So I went for the N star align on EQMOD. Another problem... I couln't get CDC to tell the mount to slew. I tried for about 10 minutes, the mount would move quite happily to my control inputs from both EQMOD and the gamepad, but not from selecting a star in CDC. Till I found I was using the wrong option and instead of telling the mount to goto the star I was telling CDC to centre the star in the view... blast it. Anyway, having finally solved that one, the N Star align was easy. I then slewed around to NGC457 (The Owl Cluster) and set PHD running. After a few minutes, the green box and guiding appeared. I set the camera off on a run of 7.5 minute subs @ ISO800. Then just to finish, as I was testing, set one 20 minute sub running. When that was finished, I grabbed some flats (I forgot about the extent the TC made to the exposure times... ) and cleared up.
Anyway, the guiding worked a treat, even with the TC making 1200mm. Here's the single 20 minute sub. The green tint is from the EOS CLS Clip filter, this really works well on killing the LP around here, much more effective than the Skywatcher LPR filter. This image has had no processing done on it.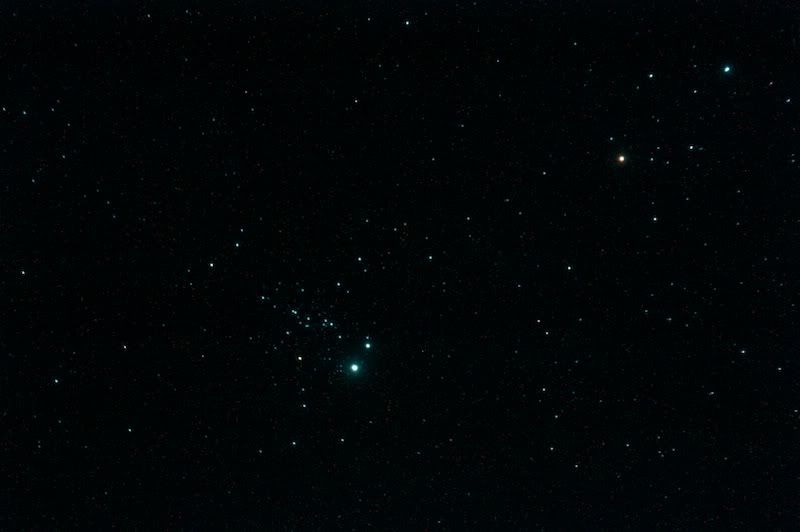
And here's the combined results.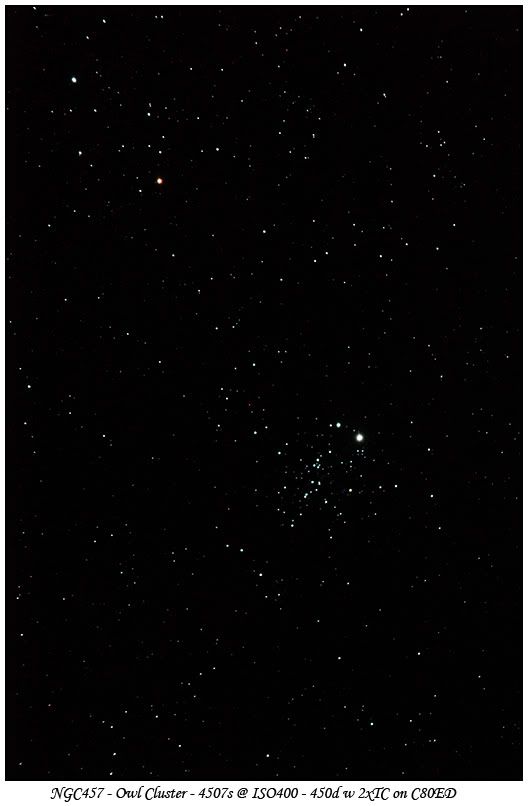
I'm happy now that everything is working as it should, and as equally as important, I can also remember how to set it all up and make it work.
Friday, 11 September 2009
In the Telegraph
One of my images from the AstroPhotographer of the year has been used in the publicity release by the Telegraph. It can be seen online Here, it's the Colourful Moon.
Tuesday, 1 September 2009
Astronomy Photographer of the Year
I thought I'd enter some images, all a bit last minute it must be said, and uploaded 5 images to the Flikr group in the final week for submission. Astonishingly 4 of the 5 were short listed. I'm very pleased at this result, as I wasn't expecting to get any. I didn't win, but getting even 1 short listed against the quality of the competition would have been good going. Here's my short listed images...
1) NLC Panorama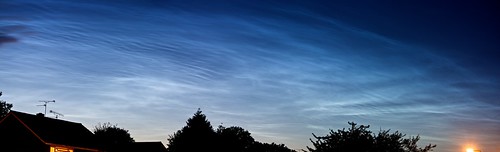
2) Misty Iridium Flare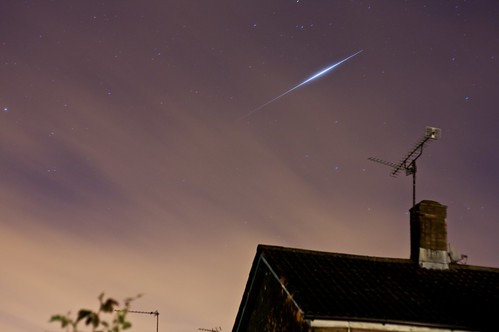
3) Colourful Moon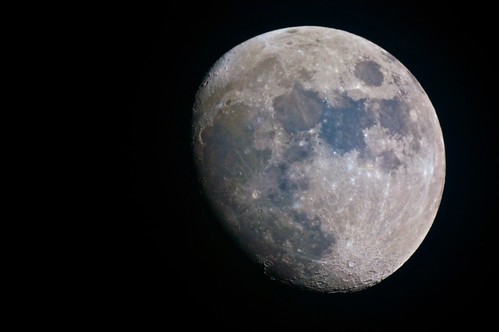
4) M81 and M82 widefield
Perhaps next year.
Sunday, 30 August 2009
Franco Skies
I took my 10x50 bins with me on holiday, I'd wanted to take my little scope, but there just wasn't room, so that I could, hopefully get some observing in, both, being further south, and with luck darker skies.
Well, both proved true very quickly. The skies were so dark, that the milky way was very visible directly overhead without any dark adaptation, and I could see no hint of LP anywhere around. Of course, the quantity of trees didn't help with seeing the horizon, but they were quite dark trees.
On the 18th, I could just about make out Ursa Major's tail through the trees, it was a little tricky to work out my bearings, but this got me sorted. Anyway, just a bit of sky watching. Throughout the evening, I saw 4 Perseids, a Tumbling Iridium (at least that's what I think it was), a very odd sight, but I don't see it being anything else. The track kept fading in and out. A few minutes later, a real bright Meteorite tore across the sky, and a bunch of other satellites joined in the fun.
The following night I got my bins out and had a good nose around. Easily finding the Coathanger, having a wander along the Milky Way through Cygnus. A little later, through a gap in the trees I spotted an odd Teapot shaped grouping of stars, and wondered whether that could actually be Sagitarius... A quick check in the books, planetarium and TL@O proved this to be correct. I had a good wander around here. The two globs M22 and M28 were easily discernible as small blobs. I could make out M8 and I think NGC6530. M21 was another easily seen target, and I think I may have seen M20 (or that might have been wishful thinking)... And moving higher up M23, 24 and 25. Wow, what a busy area that teapot is.
Anyway, most of the following nights were spent looking at the same thing, and trying to find and prove to myself that I had indeed seen these targets. I also shared the bins with friends and family, so they could see what I was looking at, mounting them on my camera tripod.
I also tried to capture some images of the teapot, both a widefield with the 18-55 lens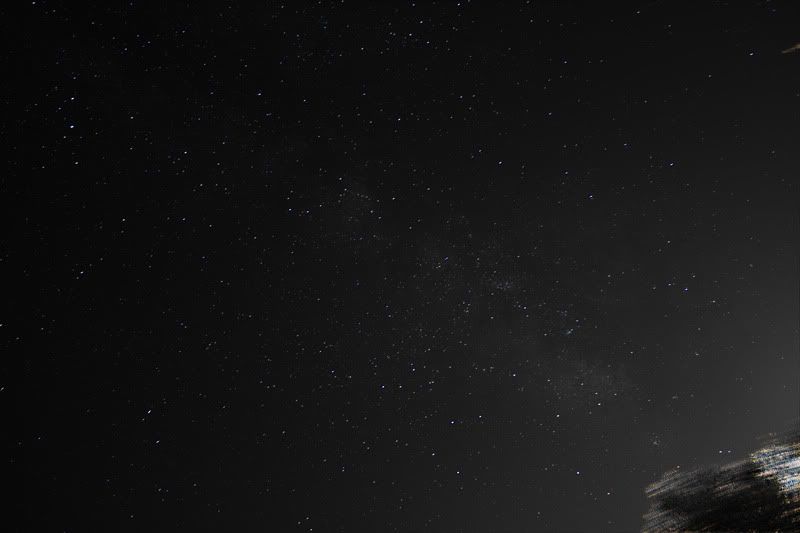
and a bit closer in with the Nifty Fifty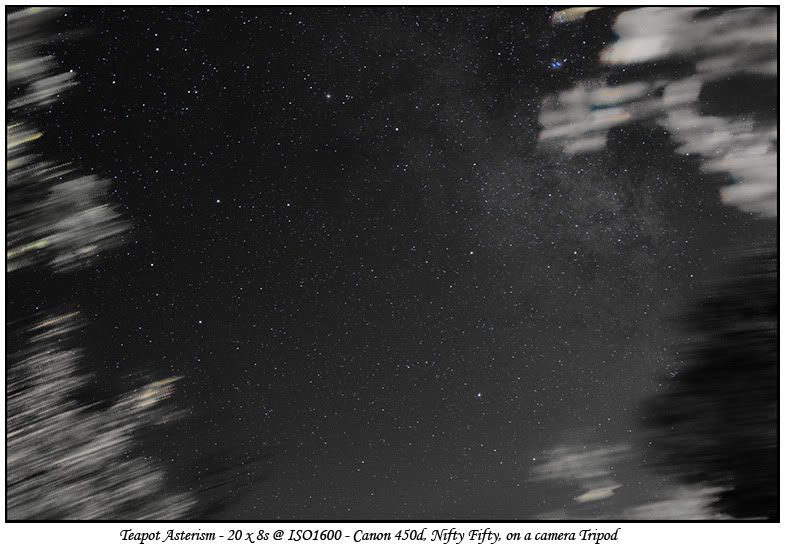
Wednesday, 12 August 2009
Star Trails - Part Deux
I found a little trick (thanks Dangerous_Dave) paint in black on the frames that you don't want the planes to show and they disappear when combined... cool... and a quick fix on the flare
I also trailed the other images I took, in which I only caught a satellite and no Perseids... this is only 25 frames combined, thus the shorter trails
Startrails
I had a bash at combining the 83 frames I took last night for the Perseids into a startrails image. The Startrails application is amazingly easy to use for this, load the images, click the trails button, sit back and wait. The foreground is dull, I wasn't aiming specifically to capture a startrails image in the first place... I've also got an Iridium flare and a pair of planes ... the Perseids shown earlier are in the image somewhere... but I can't find them.
Tuesday, 11 August 2009
Perseids
For the first time in what seems ages, the sky cleared as the sun went down. As tonight is one of the best nights to see the Perseid meteor shower (and with a tent up in the garden, there's no danger of getting the scope out, assuming of course I could carry it anyway) I got out one of the sun loungers, setup the camera on a tripod next to me, lay back with a pair of binoculars and waited.
When I setup, the sky was still light enough to show some blue. And I watched as the sky darkened, the stars started to show. Cassie turned her face toward me, then as the sky darkened further, the great wings of Cygnus spread across me. To the accompaniment of small furry winged creatures... teeny bats whizzing around over the garden.. never noticed them before.
Watching the sky generally, I noticed other things, constellations, Draco, Lyra, Lacerta all showing up nicely. The band of the milky way, a faintly glowing ribbon, delicately connecting Cassie to Cygnus, almost as if the Celestial Queen was trying to capture the swan.
Over the course of an hour and a half I witnessed 9 Perseids, from the quite dim, up to the blazingly bright, leaving an incandescent trail across the sky behind it.
One in this skimming the bottom of Cassie
One in this passing just over M31
Two in this, both starting at the centre, one up to the corner, and one below it.
11 Satellites including a spectacular Iridium flare, at last a magnitude -6. I caught this one, it's actually a composite of two images, of course, the timing of the shots on the camera and the flare were not in sync.
and a seperate flare, not an Iridium though
The camera was set to jpg, so I might have a go at a couple of things, an animation and a trails.
I also, with the viewing of some autumn friends had a wander around with the bins, reaquainting myself. M31, and I was amazed at just how easily I found this one, M103, the double cluster and the Mirfak association, amazingly clear, all of them, given how low down, and the slight mist glow at those altitudes. I had a look around for the owl cluster, but I'm not sure a pair of 10x50's cut it. I also had a wander around Cygnus just lost in all those stars...
I really enjoyed that, the more so, given the total lack of opportunity over the past couple of months. It's got me thinking about what I want to achieve over the Autumn and Winter.
Thursday, 6 August 2009
Update on the Rig and a couple of widefields
I've added a couple of bits to my rig over the past couple of months, so now the guide scope is mount next to the imaging scope on a side by side bar, and I've got a set of collimating rings, allowing me to adjust the guide scope if needed. I've also now got a proper power setup, meaning I won't be limited to 2.5 hours from the powertank. It'll be nice to get it out and try it, just hope I can remember how.
Given the crummy weather and lack of dark skies, I've not had the gear our for a couple of months, but there have been a couple of clearish spells that lasted long enough for me to pop the camera on a tripod and try a couple of things.
First off, using the nifty fifty (aka, the Canon EF 50mm II), bit limited in sub length at this focal length, but 10x8s f2.2 @ISO800
Then a few nights later another gap. This time I tried to do a panoramic of the milky way, 3 panes of 10x30s f3.5 18mm @ISO800
They both need some work. I now have an adapter that allows me to fit my LPR filter to the nifty, so that'll be good for some tracked shots. I also need to work out the best aperture to use as the setting has caused some oddities around the edge of the frame. I also need to think about the best way to setup and adjust the tripod for the pano. It was really tricky trying to adjust the head to pass along the milky way and keep roughly the same orientation.

 Posts
Posts


