Sunday was clear once again... This is almost turning into a habit. That's the good news, the bad news is I had a load of stuff to do inside. But... All is not lost. About 2100 I setup the scope, leveled, powered, one star aligned. Popped on the camera, used Altair to focus. I set basic focus through the viewfinder, then switched on liveview, zoomed in, adjusted the mount to centre Altair, zooming in again, and moved the focus in and out around the in focus point until I had it as good as I was going to get. Then shot a couple of 30 second test frames to check at full zoom on preview. All looked good so I slewed to the Coathanger asterism, AKA Brochhi's Cluster or Collinder 399. I set the timer remote for 60 x 60 seconds and let it do it's stuff, whilst I went indoors and did what needed doing.
After checking I had 20 with tracking errors, the rest stacked with 3 darks and processed in PS to produce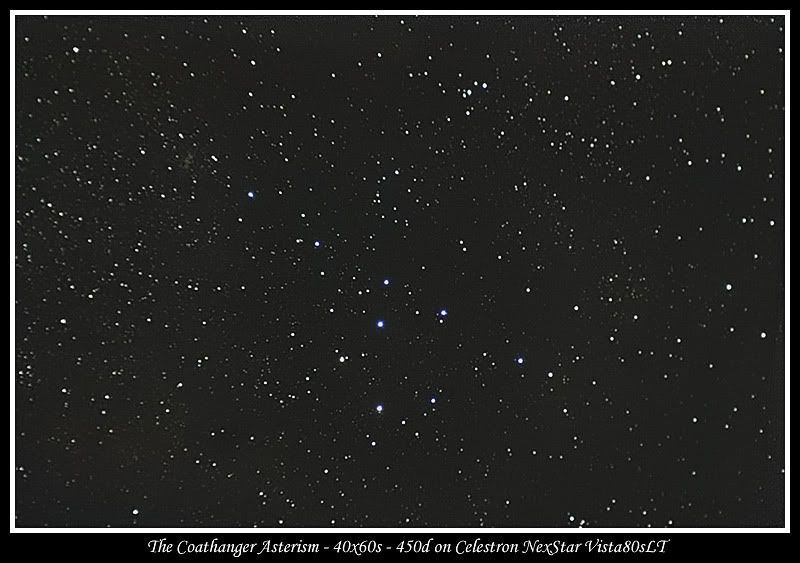
I then used the goto to slew to M29. I saw this first on Saturday night, and figured it was worth a try. Again I set the timer remote for 60x60 seconds and left it to it. I wasn't quite sure in my 60 second test shot where M29 was, so I didn't adjust position. Anyway, stacking and processing the 61 frames (I got away with that one, no errors...) with 3 darks, the result is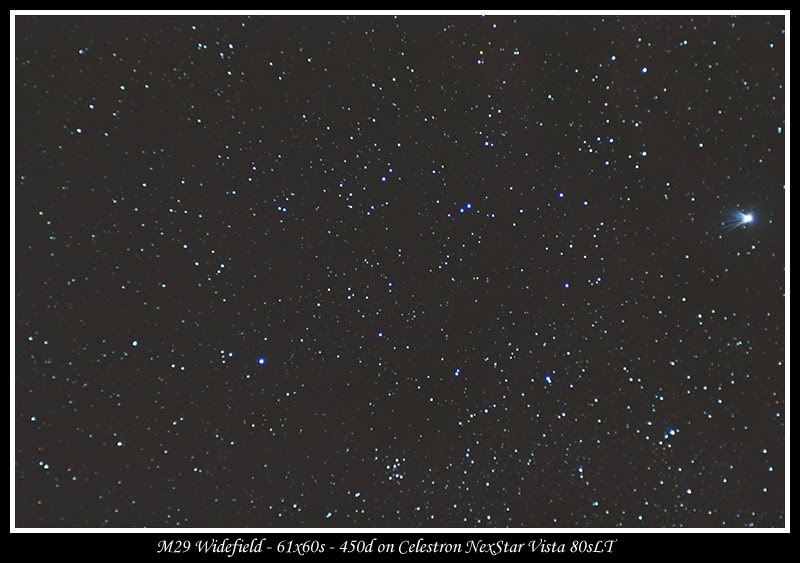
M29 is the small butterfly shaped pattern at the centre bottom of the frame.
I had time for one more, manually slewed the scope to Polaris and setup for the engagement ring. Something didn't seem right, as I couldn't hear the mount motors tracking at all. Then it occured to me, I was being dumb... Of course the motors wouldn't do anything, Polaris doesn't move... DOH!!!. I figured I'd better go for shorter subs on this one to avoid trailing, and it looks like I got away with it. I set the timer remote for 20 x 30 seconds, stacked the frames with 3 darks and processing in PS left me with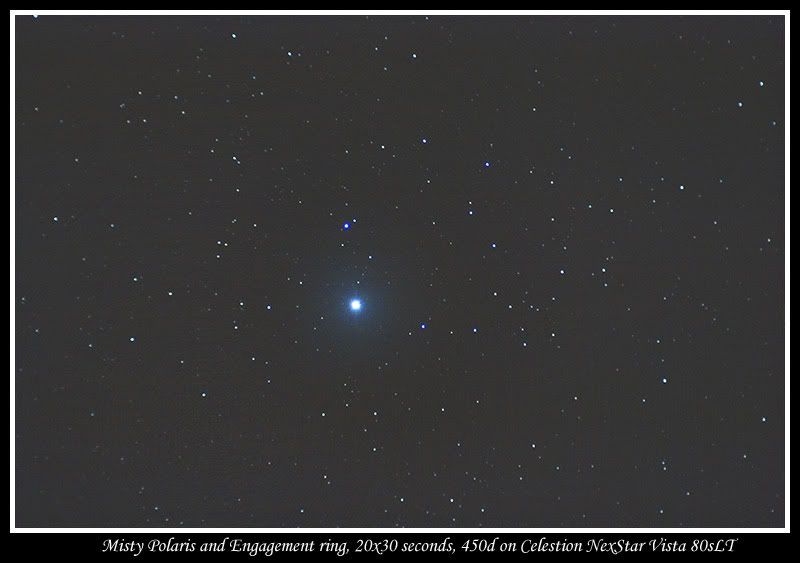
It was getting a little misty and this can be seen in the glow around Polaris
Once this set had finished, I cleared up, packed away and downloaded the data. Good job too as within 20 minutes the sky had disappeard behind a pile of grey again.
I also had a reprocess of both the M27 and M45 images. The cause of the oddness with 1/3 from the left moving to the right in stacking turned out to be caused by the single 30 second frame confusing DSS. Removing this, restack and reprocess left me with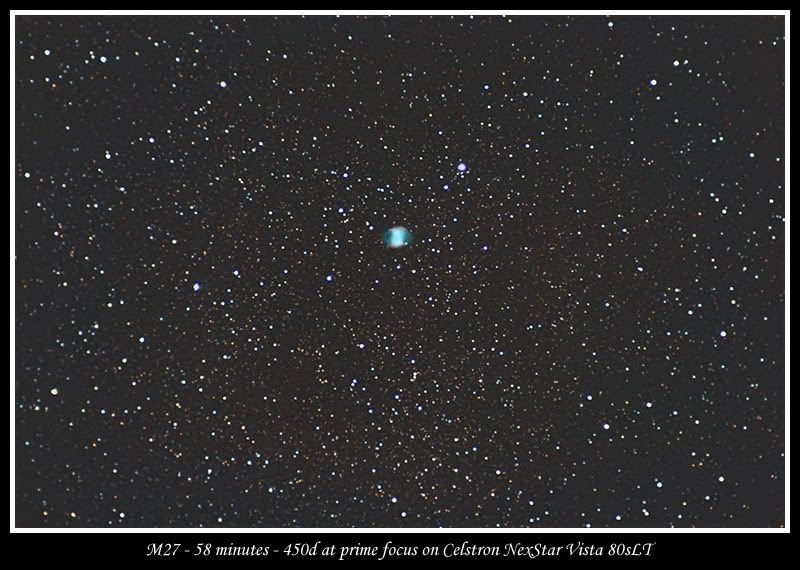
After some discussions and 4 attempts on M45, 3 of them discarded, I finally managed to process them, keeping the Neb smooth, that was tough....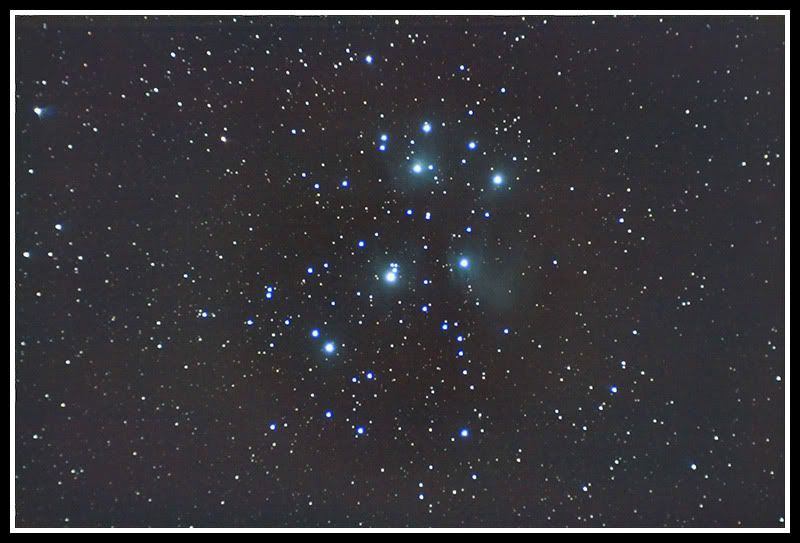
I'm looking forward to getting back to M45 and grabbing a load more subs and seeing if I can't get more Neb in the resulting image.
Tuesday, 30 September 2008
Hang up your coat, are you getting engaged ?
Monday, 29 September 2008
Playing amongst the stars
Saturday night... The sky was clear (Again, that's unusual...) So at about 2100 I got the gear out. I did my usual level and power up, but this time used the one star align on Mirfak. I'd had good tracking results after doing this on Friday, even though the focus was out and I really couldn't be faffed with messing about with SkyAlign again. When it works it's great, when it doesn't it's just painful.
I then swapped the 5mm ortho and diagonal for the Camera. I used Mirfak to set focus, firstly through the viewfinder to get it about right, then on the LCD with liveview, as it's nice and bright, it shows up well on liveview. I used the liveview magnification ability to zoom in 10x on the Mirfak and gently and slowly moved the focus in and out, just passing over spot on, reducing the step each time, untill Mirfak was as small as I could make it on screen. I then fired a test 30 second exposure and zoomed all the way in. Looks pretty good.
I then used the goto and slewed around to M27. The Goto wasn't spot on, but M27 was in the FOV and a minor tweak with the mount motor bought it central. I set the timer remote for 15 x 60 seconds and set it off. Then grabbed the planentarium, and went Constellation spotting.
After a few minutes I was able to easily make out Cygnus, Lyra, Vulpecula, Sagita, Delphinus, Aquila and Pegasus. By my reckoning that gives me another 5 spotted and identified taking my total up to 43, just about half way there.
I left the scope and camera going for a little while, had myself a cup of tea. Then went back with the 10x50 bins for a good nose around. I set the timer for 15x120 seconds and set that off. Whilst the camera was firing away, I looked at the Coathanger, found M29 and M39 and kinda got lost in the sheer quantity of stars in the Cygnus region. Once the 30 minutes had finised on M27 I tried to go for even longer. However, this wasn't to be. At 3.5 minutes, every single star suffered badly from errors. I think 2 minutes is the limit of my mounts capbilitues. I did consider trying M29 and M39, but the position put them so that the camera would smack the tripod leg, so didn't try those.
I was looking at various maps, trying to find anothter target, when I glanced around and one of my favourites was rising above the house. M45 - The Pleiades was back. I just couldn't refuse that one... I slewed the scope, made a couple of minor adjustments to framing and set the camera going for 16x120s shots. I had a look around in the bins at this part of the sky. M45 being the starting point, as beautiful as I remember. Then onto M31, Cassie area, The double, The Owl and Kembles cascade. The imaging run finished, and as everything, including me, was beginning to get very cold and damp, the timer remote was literally dripping, as was the dew shield and on camera flash (most odd as the rest of the camera was clear, oh well). I packed up, went in, and got to work processing the images.
A couple of things went wrong in the stacking process, so the framing is not what I wanted. For some reason, the left third of the frame of M27 was moved to the right hand side... Most odd. I'll restack and see if that helps.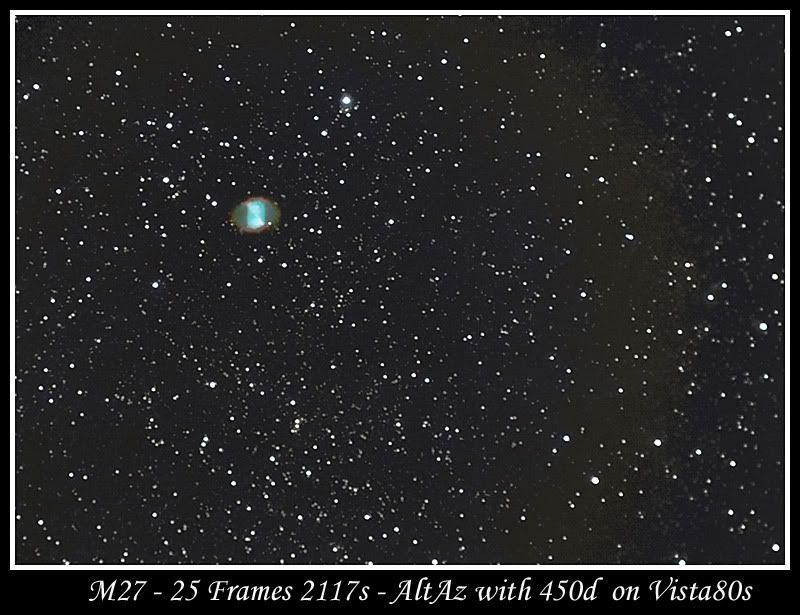
And M45 had weird oddness around the periphery, I had to crop it away. And I overdid something in processing too...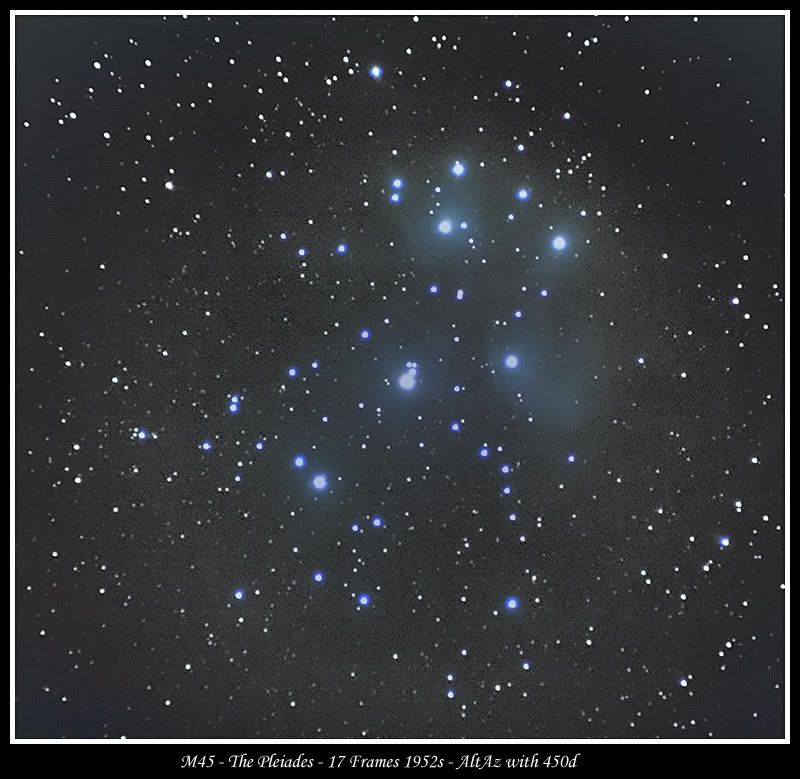
Both of these will be re-edited. Probably a lot of times.... I enjoyed that.
Sunday, 28 September 2008
Focus - What's that ??
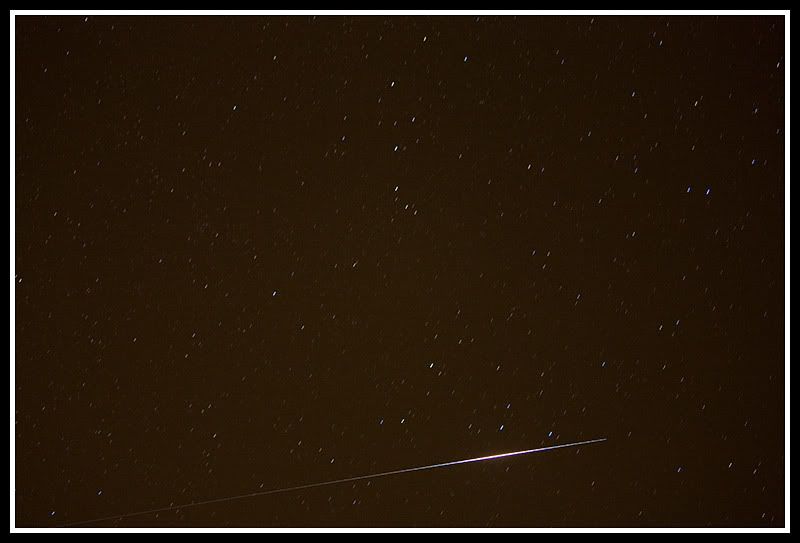
A clear night again. Yippee and it's a friday, no work tomorrow. I got out to try an early flare, but the sky was just too bright at 1900. A little later was the ISS pass. I decided to try a little experiment, and shot a single 66 second frame at 18mm with the kit lens. This is the result.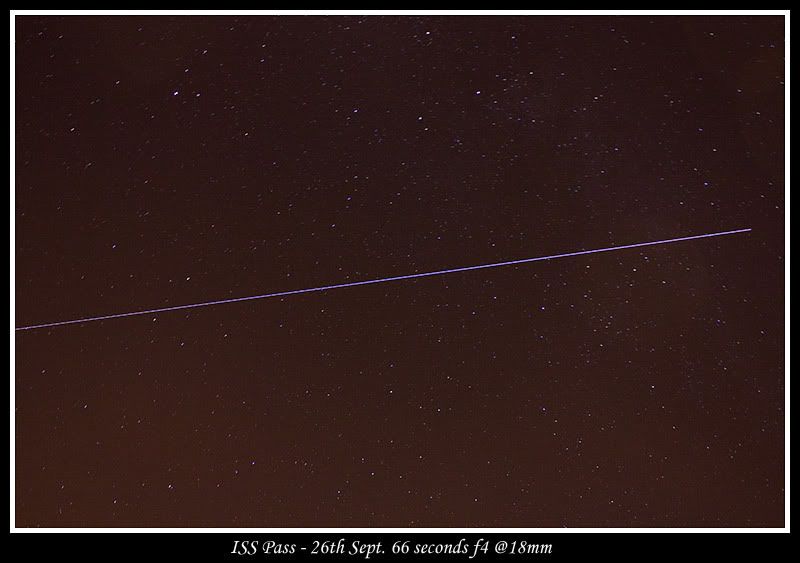
A little later, and I went back out, this time with the scope to try my hand at a third set of Prime Focus images. Anyway, I went through the normal setup routing. Levelled the scope, powered up, dropped the 5mm Ortho in the diagonal, and set about using the Celestion SkyAlign. I ran through the normal sort of stars, three as wide apart as possible. After a moment, alignment failed. Ok, this has happened before. Hit undo and tried again. Another 3 stars, another failure. This is silly. Bear in mind, that with the slewing and jiggering to align this can take a good 5 minutes. Ok, I power down the mount, leave it for a moment, power back up and try again. Another set of stars, another failure. Hmm, thinks I scratching my head, what on earth is going on here. I powered down again, pulled the power from the mount completely. Left it for a couple of minutes, powered up and tried yet again, for a fourth go. Another failure. At this point, I'm ready to kick the alignment into the middle of next week, but not being quite that fed up, decided to try a one star align. Picked Mirfak, it's bright and I know exactly where it is, which is always good. Used my normal alignment process, and this time it works like a charm.
Next, I swapped the diagonal for the camera, and set about getting focus. I checked Mirfak through the viewfinder, being nice and bright I can see it through the camera. Fired a couple of test shots, looking good. Ok, first target, M33. I used the goto to point the scope in the right place, fired a couple of quick test shots to check positioning, looking good. Set the timer and set it going. In the meantime I used the 10x50 bins to have a look around Cassie and Andromeda. The usual suspects. M31, the Perseus Double, the Owl cluster, Kembles Cascade amongst others and meandering around Cassie generally.
Once I'd finished grabbing the data, some 30 frames, I thought I'd try M27. Used the goto to slew, a little out of central, but an easy shift to bring it back. Set the timer and away that went. I had another wander around with the bins, there's just so many stars in and around Cygnus. I found the coathanger, probably a few clusters, but I can't be sure, and I definitely found M39.
A little later and the capturing done, I shot some darks and bought everything in. I started then to process the data. I stacked both sets of images in DSS, then went onto to process them further in PS. It was only at this point I noticed that something really didn't look quite right. I couldn't get the M33 stack to do a thing. The M27 stack was a bit better but still wasn't right. I looked and looked. It's only a small thing, but the image isn't quite in focus. Damn it...
Here's the rather poor M27 result. The nebula is clearly there, but it's just not sharp and clearly defined as it should be.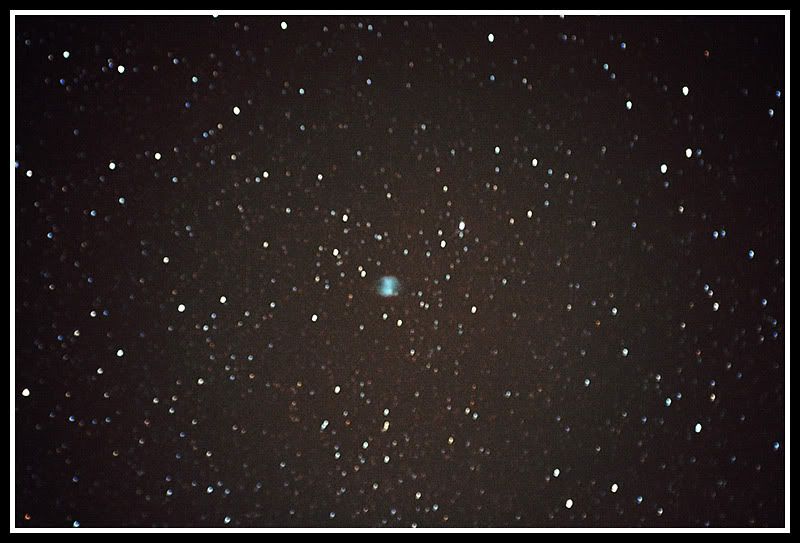
It's supposed to be clear again on Saturday night (in fact it is and I'm capturing data as I type this, look for another post soon) and I intend to try both of these targets again.
Friday, 26 September 2008
Spotted something good
I ended up having to work last night, and finished around 0300. I looked out and it was clear, but cold. I went outside just for a quick scan about, and there getting higher in the sky was, the Sisters, the Bull and the Hunter. Won't be long now. I'm realy looking forward to these appearing at a more reasonable time so I can try and image a few things in there.
Spotting Flares and Stations
The clouds have been back in force for nearly a week again, after the nice weekend. Not so bad I suppose as I do have to work. There have been a few Iridium flares forecast for early evening. On wednesday, whilst out and about with a bunch of people, I happen to carry a compass with me on the off chance, and there was a break in the clouds at just the right moment. Most of the 30 of us spotted the Mag -5 flare of Iridium 42.
This evening, however, started out clear. The prediction was even earlier, making imaging a real toughie against the bright sky, but I tried anyway. Suffice it to say, my youngest and I saw Iridium 80 at Mag -6, but I only managed to get a bright glary sky image and no sign of the satellite, even with setting the camera to minimum aperture. Ho hum.
About 45 minutes later, the ISS was sheduled to pass over at mag -2.3, and I setup to capture this. I still had the long lens on the camera, set at the shortest focal length (55mm), and here's the result with the ISS at maximum altitude.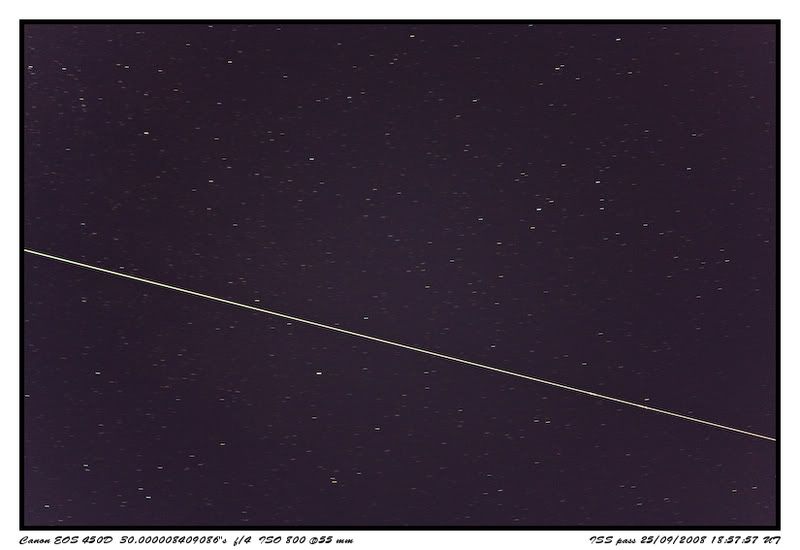
As the ISS passed onwards across the sky, I quickly swung the camera around, turned on liveview, found the dot, and fired another shot.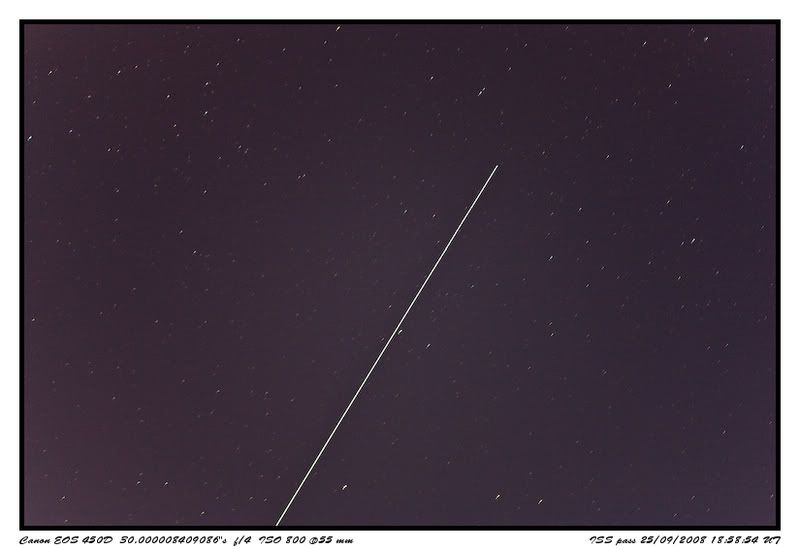
A little later, the sky was still clear, I grabbed the scope, power supply and case of gear and headed out. I went back in for the camera, attached the nosepiece, stepped outside, and in that minute it had taken me to grab the camera and my coat, the clouds moved in and took over the sky. Ho hum, I'd been hoping to have a go at imaging M33 this time around. It'll still be there another night.
Tuesday, 23 September 2008
One final Tweak - The final result
A little tweak further to remove a little of the red cast and gradient in the image and I've ended up with this: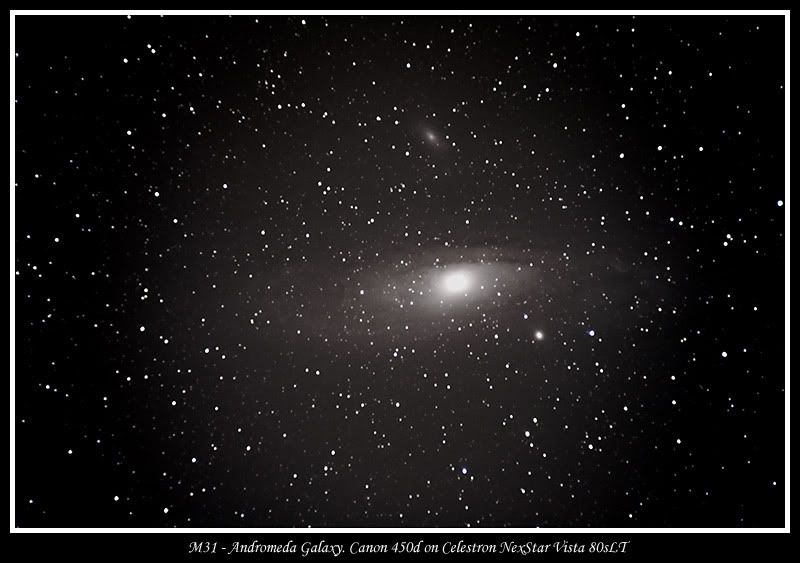
I'm very, very pleased with that. I never thought I'd be able to pull something like that together with my little f5 Achro frac on an AltAz mount, with my somewhat meagre processing skills, but there we go. Thanks to those who wrote the tutorial and provided me with little pointers here and there.
Reprocessing Andromeda
After posting up my first attempt at processing my picture of M31 the other day, there were some suggestions that there was more detail to pull out in processing. So I went back to the original 32bit tif and started from there. I used autolevels to balance the image to start off with, then converted to 16bit and used the options here to boost the exposure a little. I then followed a tutorial I found via SGL that shows how to, using curves, first stretch the Histogram, then increase contrast and sharpness across the image. After running through and a few more tweaks, I ended up with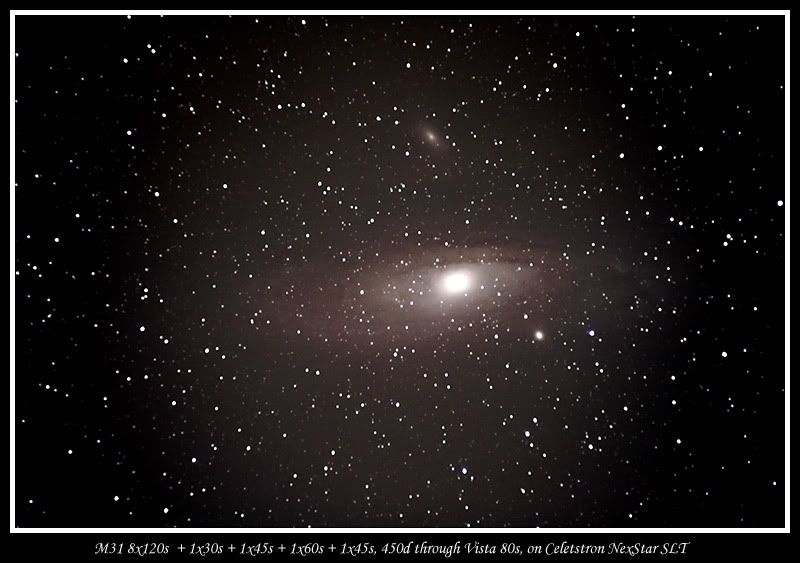
That's just so more detailed.
I also managed to take a couple of moon shots on Sunday.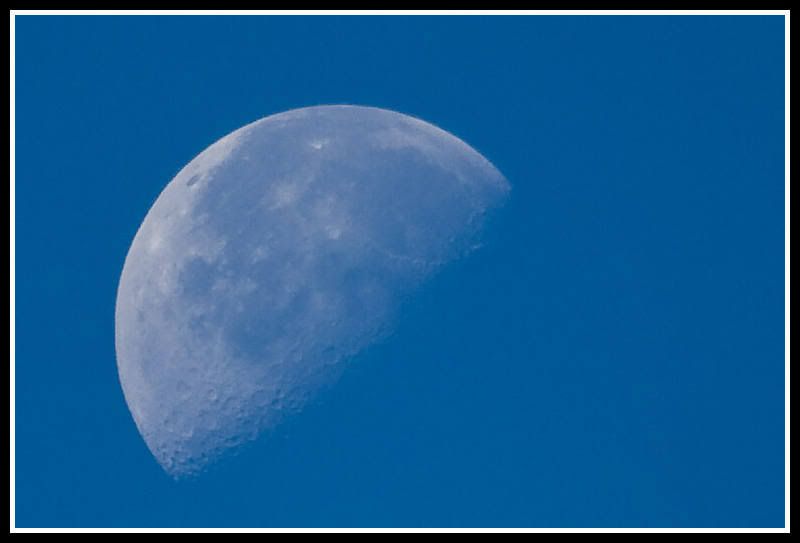
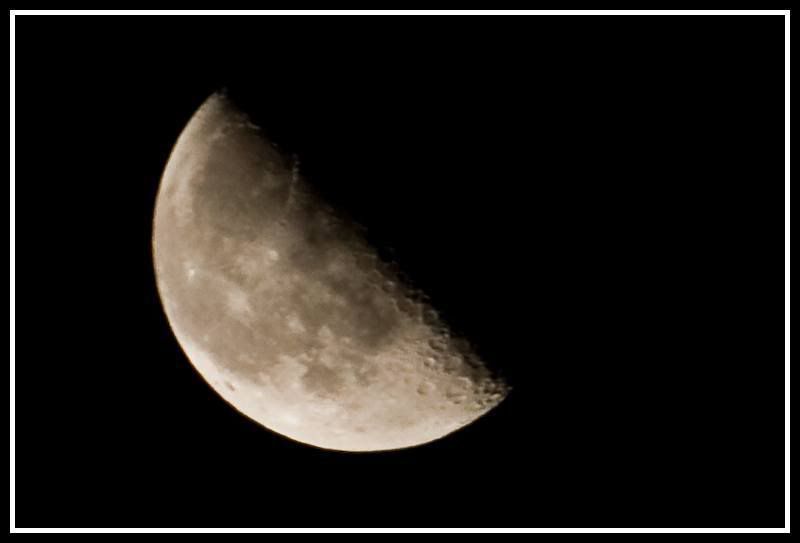
The daytime one is by far and away the better image, but I think there are a fair few factors affecting that. 1) The moon was much higher in the sky 2) The daytime shot was from a wide open, temperature stabilised field, whereas the night shot was through an open door.
Monday, 22 September 2008
2.5 million years ago (roughly)
On Saturday evening, I got out again, and set my sights on M31 this time. Much trickier target. Anyway, I went through the usual setup, level and alignment routing. For some reason, the NexStar failed the first alignment. Odd. Oh, well, I did it again, and this worked fine. Then from experience of trying to focus on my first foray, I slewed to Mirfak, a really nice bright star, swapped the 5mm Ortho (great for aligning the mount), for the 450d and set focus. A quick test shot to check, and yes, spot on, the Mirfak association showing crisp and bright.
So I told the mount to slew to M31. And I was off. First off to determine the maximum exposure time I could use. I started at 30 seconds. Odd, the image showed trails. I reduced to 15 seconds. More trails. Same at 10 and 8. Then I took another 8 and that one was fine... This is so weird. Anyway, I went back up the exposure times, 15, 30, 45, 60, 90 and finally 120 seconds. All were fine. I thought nothing more of it. I setup the timer remote to capture 20 x 120 second expoures, hit go and sat back. Each exposure flashed up on the screen and was looking good. At the end of this, my cheap-bay battery was showing signs of flagging. So I grabbed 3 dark frames and packed away. This took about an hour, and as I had to get up early the following day, this wasn't really a problem.
I downloaded the images, loaded them into DSS and set the stack running. After about 45 minutes, an image popped on screen. I took the 32 bit autosave.tif file, loaded it into PS, did a bit of lp removal, and this popped out.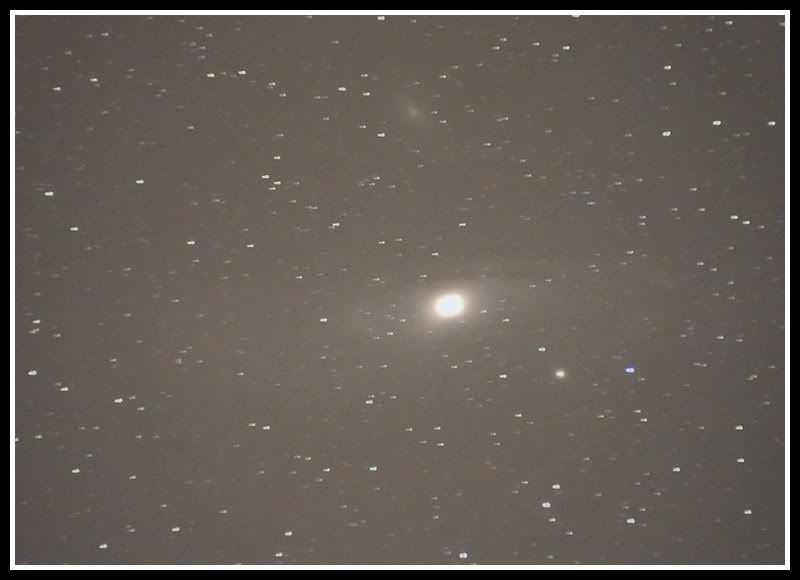
This puzzled me. I couldn't understand where all those jiggles had come from. Very odd, here's a single image I processed to check, and this one was fine.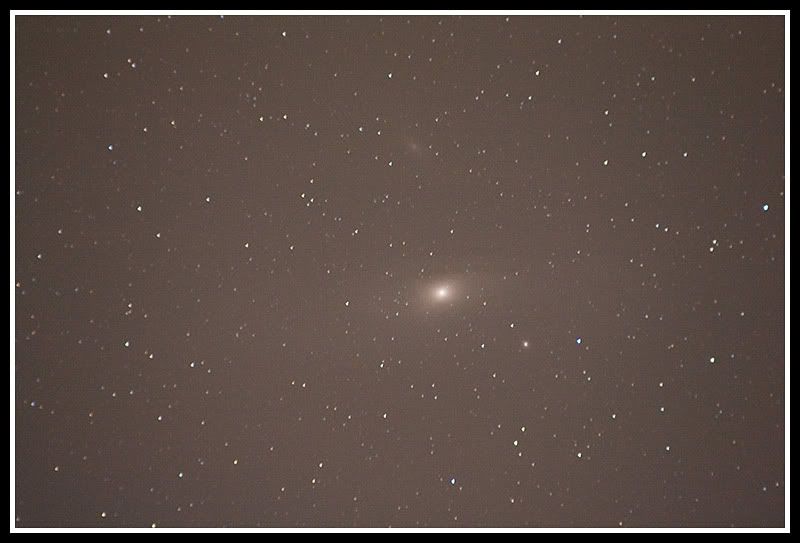
Although having said that and looked with more wideawake eyes, the trailing even in that shot can be seen.
I gave up at that point and went to bed.
The following evening, I reviewed all the images throughly and discovered that of the 20, 12 of them were showing signs of trailing in different directions. That was just weird. Then it struck me. The tracking was done purely using the mounts internal motors and unguided. The odd swiggles and trails must have been down to mount tracking errors. Not a lot I can really do about this, as I don't have any form of guiding capability at the moment.
So I restacked just the good frames, and processed the results. Here's what I ended up with. This is about 1000seconds @iso1600, tracked in Alt Az on the NexStar SLT mount, 450d mounted at prime focus on the Vista 80s.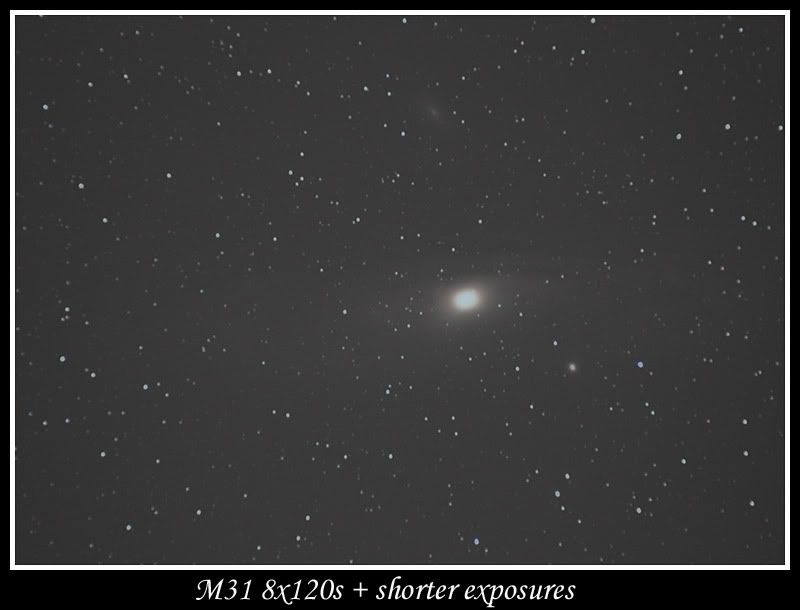
I'm pleased with the end result. I know it needs more data to really get the arms and structure there, but I think I'm at the limits of the capabilities of my equipment getting even this much. Having said that, it was a very useful learning experience and a very worthwhile attempt due to that. I may have a restack again using a few of the only slightly trailed images just to see if I can get any more out of it.
Saturday, 20 September 2008
Stacked Moon from the 18th
I managed to stack the moon shots, finally. Bit of a fight with registax as it doesn't like the 450d raw files. So I converted them to tif. Then registax complained the tif's were too large. I resized them. Then it would only open 5 of them, before throwing storage and divide by zero errors. I resized them again. This time I was able to stack them, here's the result.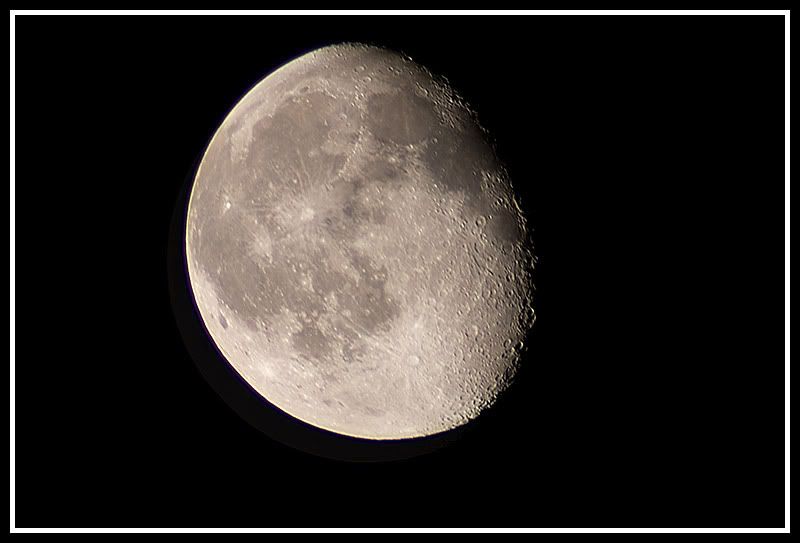
However, something has been bugging me about this image, and I think I've finally sussed what it is. After repeated attempts and doing a lot of image comparisons, I think I messed up. I took the shots for this stack after doing the filter comparisons, and I don't think I can have reassembled everything quite as well. I didn't recheck the focus after the changes (so easy to do with the liveview too) and I think it's ever so slightly out of focus, that's caused some odd fringing effects too.... That'll learn me. Always check focus after changing anything....
Friday, 19 September 2008
DSO Imaging
A clear night... Ahhh.... The joy of looking up at the wonders of the heavens. Errrmmm, now where was I ? Oh yes, I got the scope out, properly, for the first time in months (June to be precise, although even then I didn't really get to use at as the clouds closed in too fast). Took me a moment to remember the setup... but I got there. So , plonked it down, levelled the legs, powered up. Didn't fall over the US date format (good start), did a skyalign (3 points and the mount works the rest out for you, very easy).
Then I manually slewed the scope to point to the Perseus double cluster. Swapped the diagonal for the 450d, and adjusted the camera settings. Hmm, not so easy. First off to get focus... My first couple of test shots revealed... Nothing. Hmmm.... Then I tried to see through the viewfinder... Nothing. I ran the tube from end to end... nothing. This wasn't going to well. Same with the liveview... still nothing. Then I tried the viewfinder again, and eventually spotted something right on the bottom edge of the view that swam in and out of focus. I used this as a guide, got it about right, and took a test shot, tweaked and shot. This went on for a while, until, with the zoom on the shot review, I got it about right. Phew.
Then I had to work out, how long I could get for an image before trailing occured. This is more difficult using an AltAz mount. But after some playing, I worked out 45 seconds to be about right. I set up my timer remote and hit the go button. In between shots I dashed in and grabbed the 15x70 bins for a look around.
I took in the usual suspects, the Double cluster, Mirfak Association, M31 and a few of the clusters around Cassie. After downloading the shots, it turns out I only had 9 usable frames, not sure why, I need to look at the configuration of the timer remote and camera I think... Anyway, here's the image.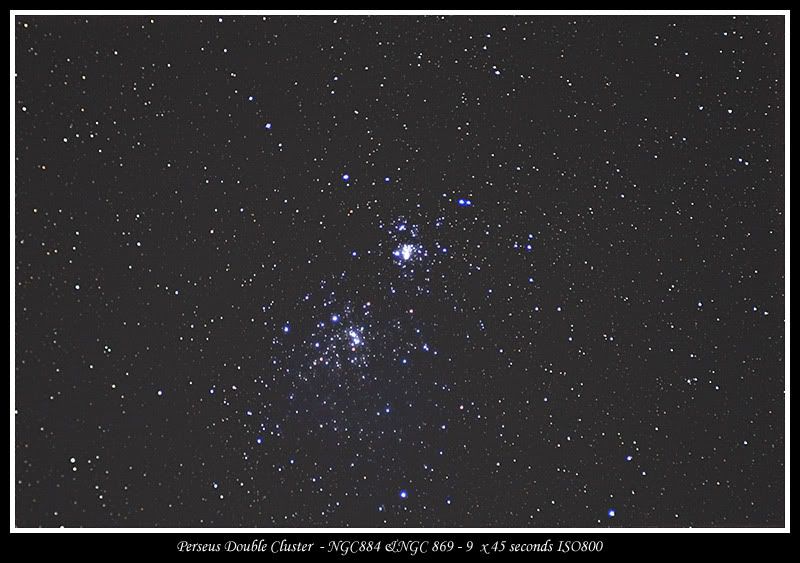
When the camera stopped clicking away, I used the goto to take me to NGC457, the Owl cluster. This took me a while working out the max exposure of 15 seconds... The trailing is much worse, so I set the camera to iso1600, setup the timer and away it went. After downloading, I had 23 frames, and here's the result.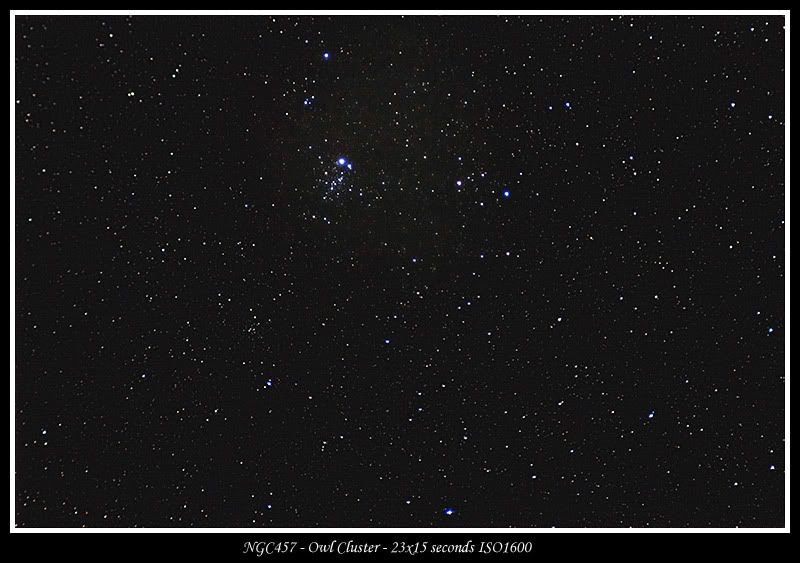
I think they have both come out well, and I'm very pleased. Especially as this is my first go at Prime Focue DSO imaging.
Once this was complete, I decided to try a couple of other NGC's and see what I could get. Unfortunatly for me, the mount decided to go the long way around, and in trying to move the power supply, knocked a leg. I didn't think anything of it at the time, but it had an effect as I'll explain later. Anyway, the first NGC eventually showed up in the FOV I snapped a shot, but couldn't see much. Odd, oh well. I used the goto to slew to M31. This I found ok. But after some experimenting I couldn't get a decent shot without trailling. I took the exposure down to 8 seconds. Damn knocking the leg. Ah well, have to come back another night and try this one again another night.
The moon was beginning to get high in the sky and this presented me with an excellent opportunity for a filter comparison I'd be meaning to do. I powered off and on, a quick solar system align on the moon and I was off.
Over the course of the past couple of months, I've added a couple of Baader CA filters to my collection and now have the following Baader filters.
Fringe Killer (FK), Contrast Booster (CB) and Semi Apo (SA). I thought it would be good to compare them side be side (well one after the other) on my little f5 achro scope. I used the moon as the obvious test subject, and compared both visually and with the 450d at prime focus. Ok, so Visually.
CB - This worked very well and reduced the intensity of the moon nicely, however, the view had a very obvious yellow tint
FK - This also worked very well, didn't have a lot of effect on the intensity and had less of a yellow tint
SA - This worked very well also, but, and this is the most useful difference, the image seen was by far and away the most natural and balanced in terms of colouring.
Here's the images. I manually set the white balacn to Daylight to force the camera to not adjust the captured image automatically.
CB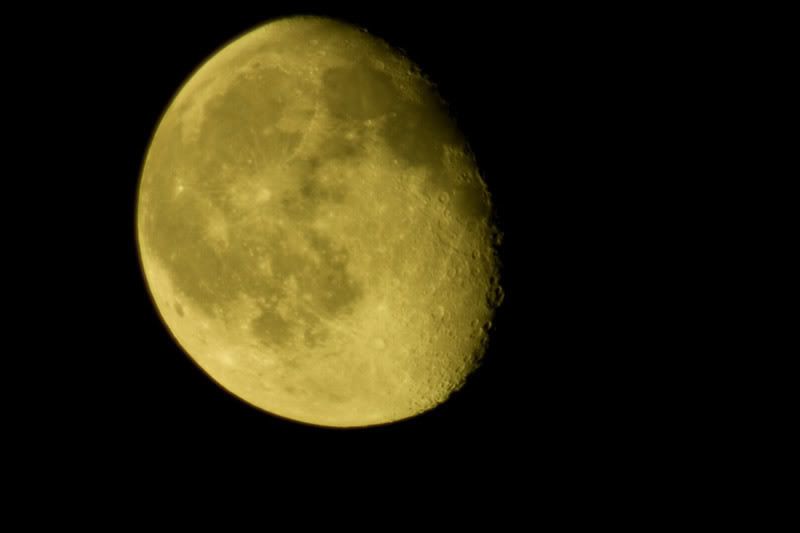
FK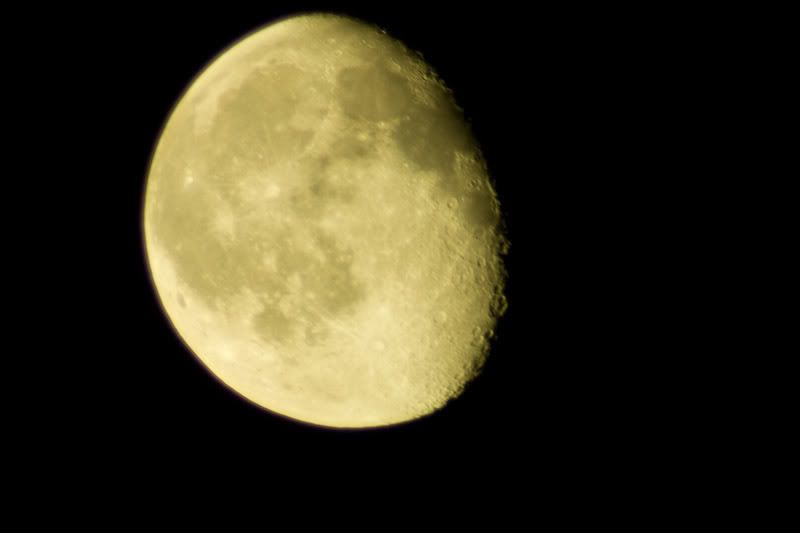
SA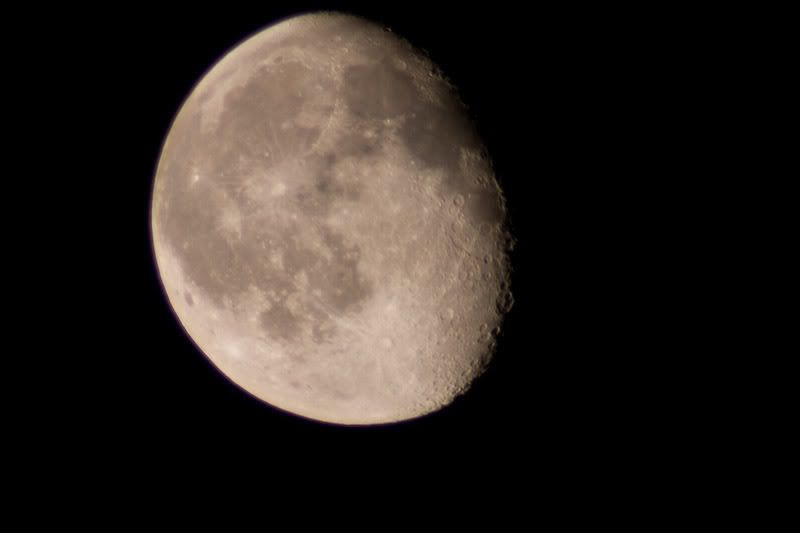
On the basis of this test, the SA filter is now going to be living in my scope. I hope that's helpful to some of you.
I also took a stack of 20 shots of the moon to have a go at in Registax, but so far this is defeating me. Complaining that the 450d images are too large, then there's not enough space, then a divide by zero. I've not given up on this yet though, and will continue to work on these. Watch this space for the results.
I was awoken at about 0520 this morning by something and took a look out the window. What did I see but the Hunter himself striding purposefully across the skies. An indication that soon there'll be my first views back in the sky. Excellent, I'm looking forward to pointing the camera at them now.
Tuesday, 16 September 2008
Dodging clouds
And again the clouds are returning. Ho Hum. I did manage to get a few shots off last night, first up an Iridium flare, Iridium 61 to be precise. I wasn't sure what I was going to actually capture thanks to the cloud, but figured it was worth a try. The flare being a Mag -8 was bright enough to cut through the clouds.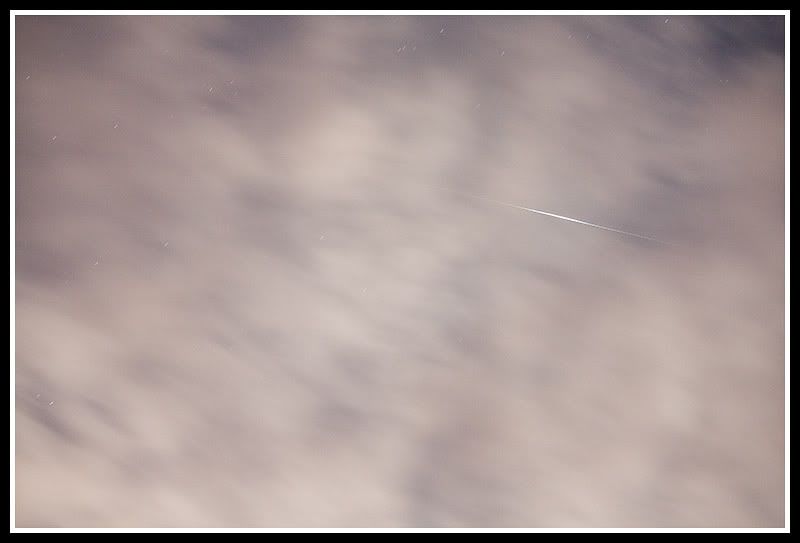
I then turned and saw quite a dramatic sight. Lunar playing hide and seek in amongst the clouds. I think this has caught quite a nice halo, but without the moon showing...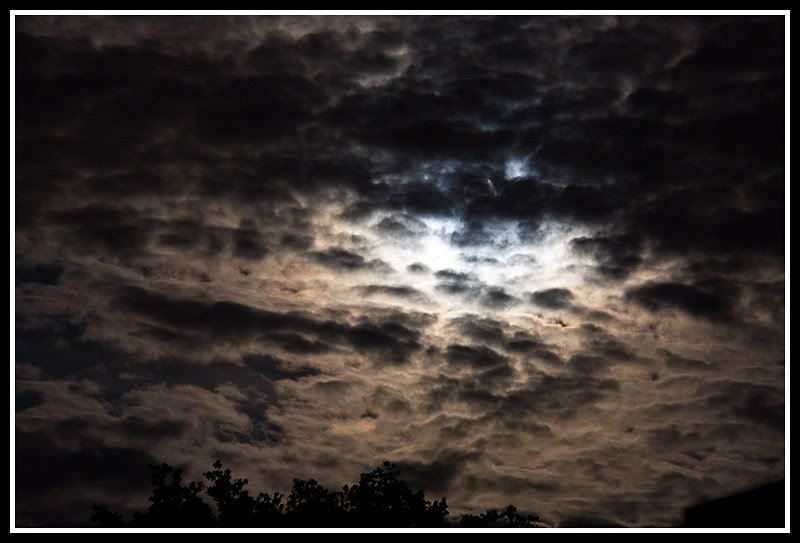
Some time later, she popped her head out of the clouds for a look around and I was able to catch her.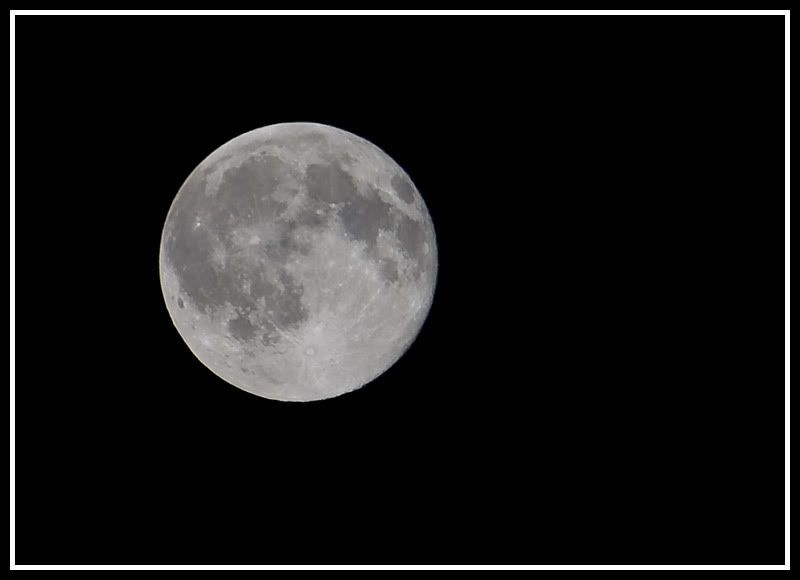
Monday, 15 September 2008
The Double Flare - Reworked
I managed to rework the double flare image and it's a lot more balanced now. I think this is now a much better image.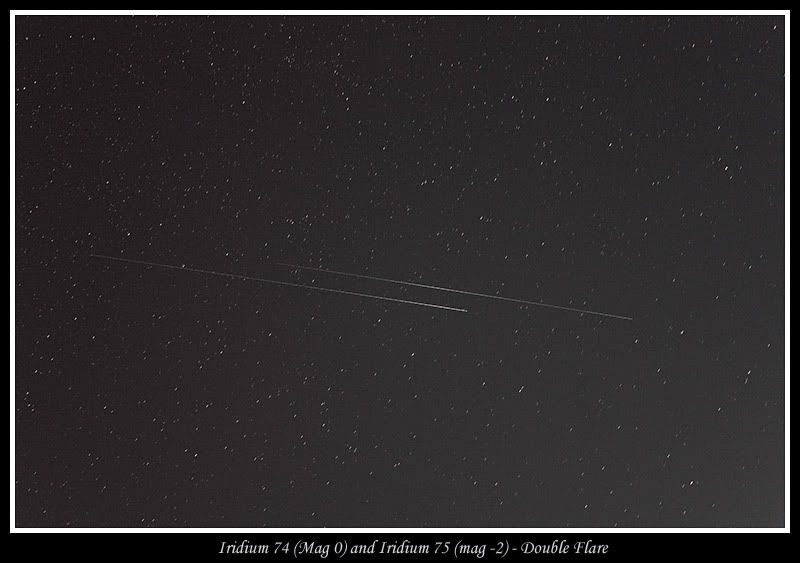
This weekends gazing and images
I actually had a couple of clear nights over the weekend. That makes a pleasant change.
On Friday, I setup the satcatcher for Iridium 41, and grabbed that..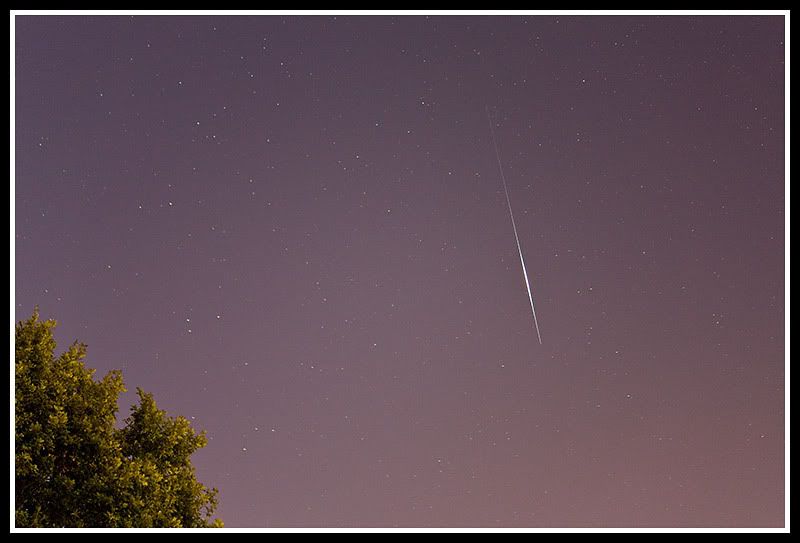
What I hadn't realised until I'd downloaded the files from the camera, that I'd caught a faint satellite rising out of the tree on my framing shot (I moved the camera over to avoid the tree for the flare itself)
Cosmos 1703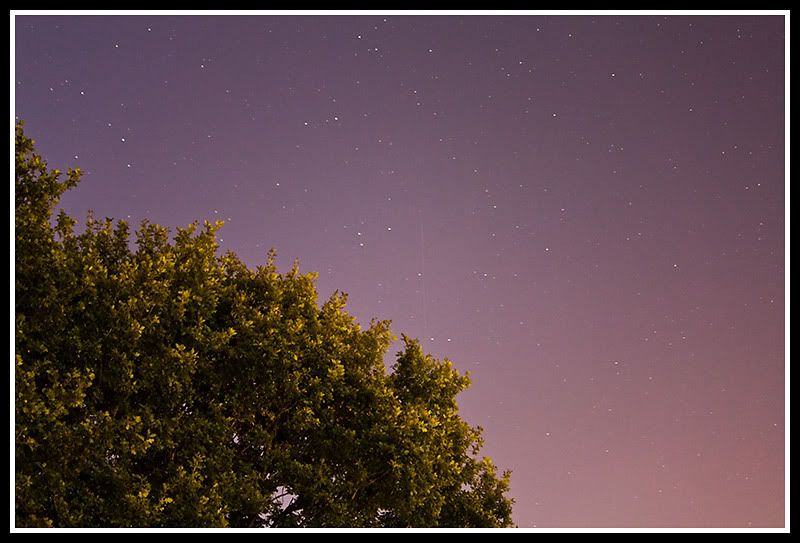
Oh, I should point out, that I've made a couple of mods to the SatCatcher. I've added a quick release adapter, much simpler to add the camera now and far safer as the 450d weights a lot more and I wouldn't want to mess about trying to bolt that little lot together. I've also permanently mounted a cheap compass from Lidl to the back, so no more sticking it on with bluetac and hoping it won't move.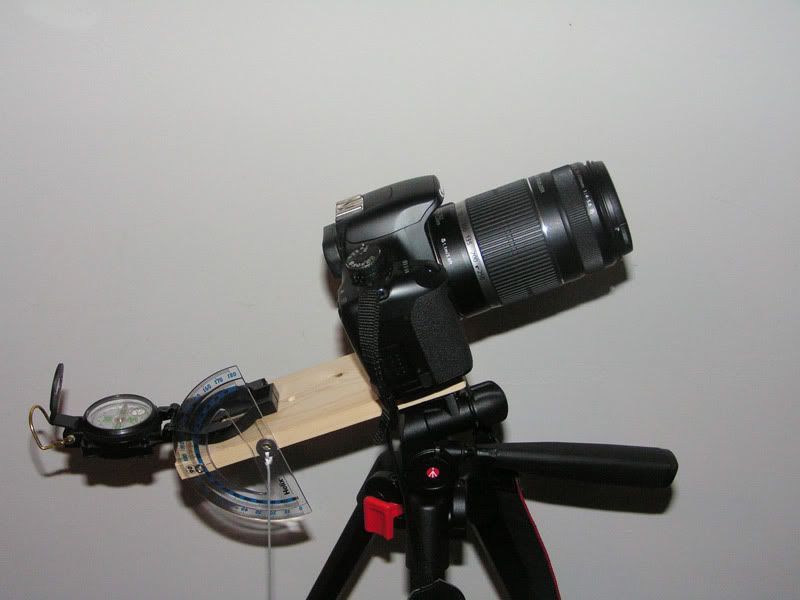 .
.
I then got out the 15x70 bins and had a wander around the wonders of Cassie. Firstly I slid along Kembles Cascade, although it took me a few minutes to find it, the SLR screen is a bit bright. (I'm also going to have to do something about the new addition to the LP in my garden, we seem to have acquired a half dozen white LED solar lights around the pond, looks very nice, unless you want to look at the night sky ...). Anyway, after the cascade, I went looking for the usual suspects in the area M31 first up. Found it quite easily and spent a few moments having a good look. Not a lot to see in the bins really, but it's good to see. Hopefully M31 will get high enough soon, and I'll be bothered to humb all the scope and power supplies etc out, I'll grab some AltAz imaging of it...
I then wandered across to Mirfak and it's association. Amazingly bright the association, but can't be seen without the bins. Lovely sight filling the FOV of these monsters. Then, as I was nearby anyway... I drifted my vision up till the Double was in my sights. Another treat for the eyes. Then I set the bins on the tripod, they were getting a bit heavy.... I might have to take up weight lifting if I'm going to be using these for any length of time. I set the tripod up, so that when I was leaning back in the chair, eyes looking at just the right place, the eyepieces of the bins were in just the right place. Took a little effort to achieve, but well worth it. And stared around the area of NGC457 to find me an elusive little owl. It took about 20 minutes, before I worked it out, but I did see the elusive creature in the end. Just in time to miss setting up for Iridium 20 flaring, I did see it however.
At this point the Moon was climbing over the roof of the house, so I stopped with the bins, grabbed the Vista, mounted it on my normal tripod, attached the slr via the adapters and Barlow and grabbed a shot of the moon. I tried a little experiment, as I'd picked up a Semi APO filter second hand, I used this instead, the Fringe Killer, leaves a definite Yellow tint across the entire view, so I've not tried to image with it in place. However, the Semi APO does not do this as can be seen below. Unlike most of my moon shots, taken with the 55-250 lens and heavily cropped, this is uncropped. I do have to work out the tubing though, to get focus, I had to use the star diagonal, and it all felt a little rickety....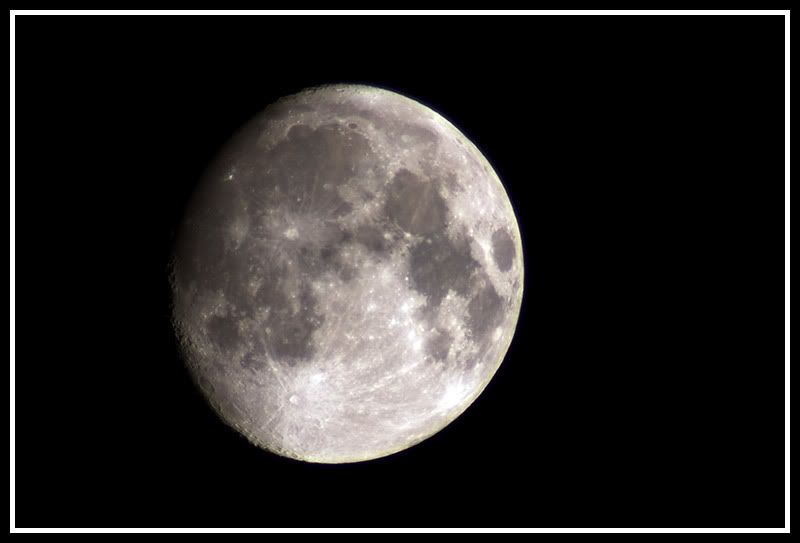
As there is some evidence of colour in the surface in that shot, I decided to have a play and try and pull it out a little more.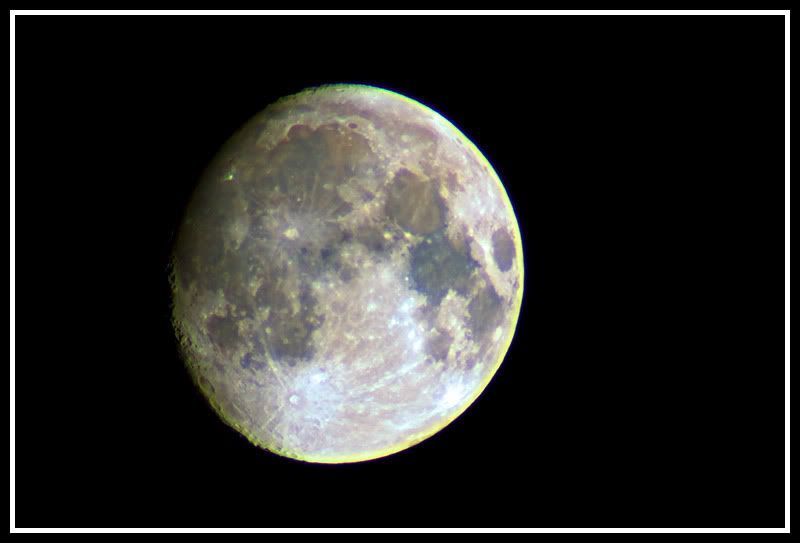
At that point, as I was getting cold, I hadn't got my winter layers on, I packed up and went in.
On Saturday night, I was really pleased when at about 2030, the sky was still clear. I'd got a prediction for a somewhat more unsual Iridium flare. A Double. The first prediction of this I'd had several months ago was a wash thanks to clouds. However, this time, I got it....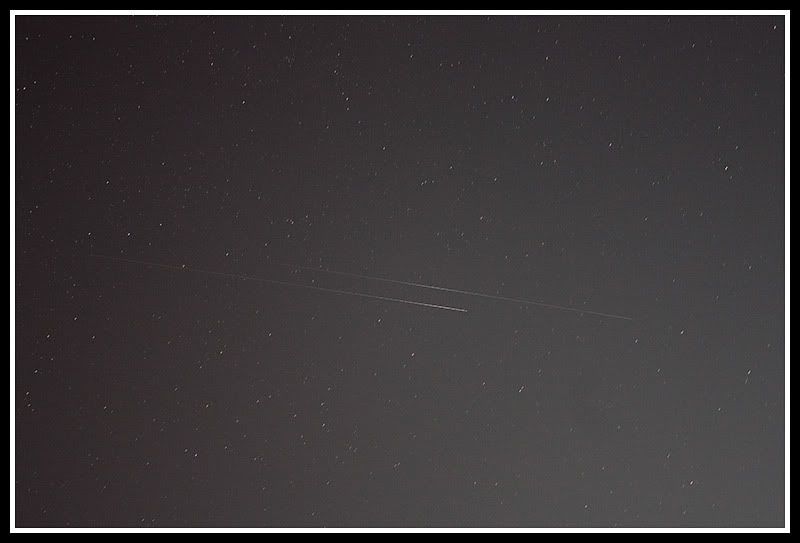
I'm really pleased I managed to capture this, and couldn't believe quite how close together they were. Unfortunatly, I had things that I had to get done, so didn't get to spend time out under the stars. Of course Sunday was clouded out again. Oh well.
Thursday, 11 September 2008
Moon and Jupiter
I've actually had a couple of nights when the moon has poked her nose out of the clouds. It's been several weeks without a sight of the moon and night skies and it's getting to me. Anyway, I managed to grab a few pictures.
Tuesday 9th - I don't think the seeing was very good, I've got much better shots than this one.
The Moon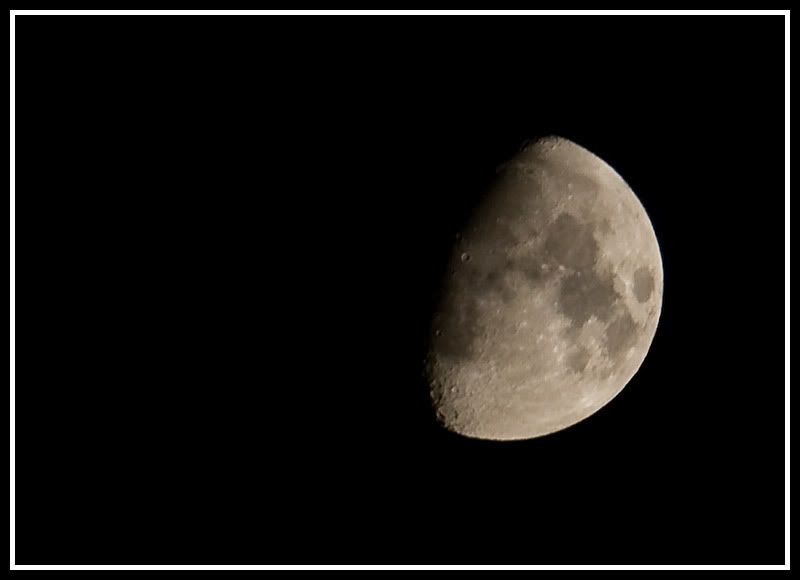
The Moon and Jupiter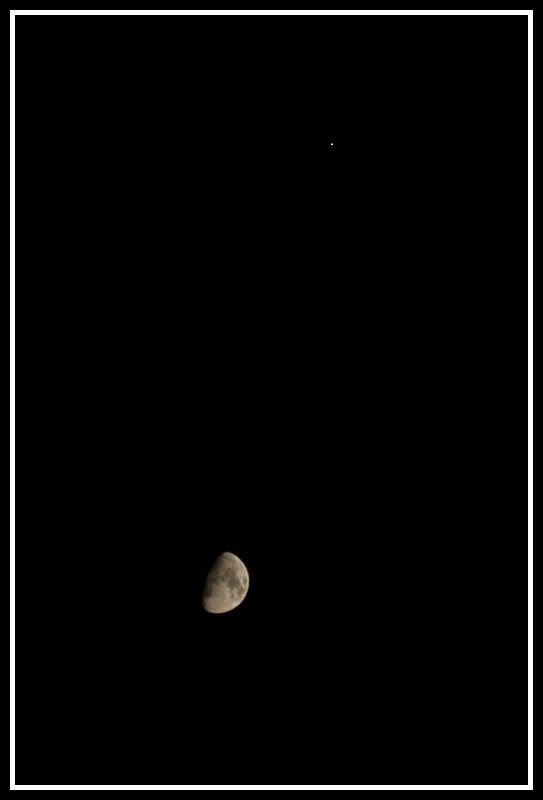
Wednesday 10th Sept - Much better seeing
The Moon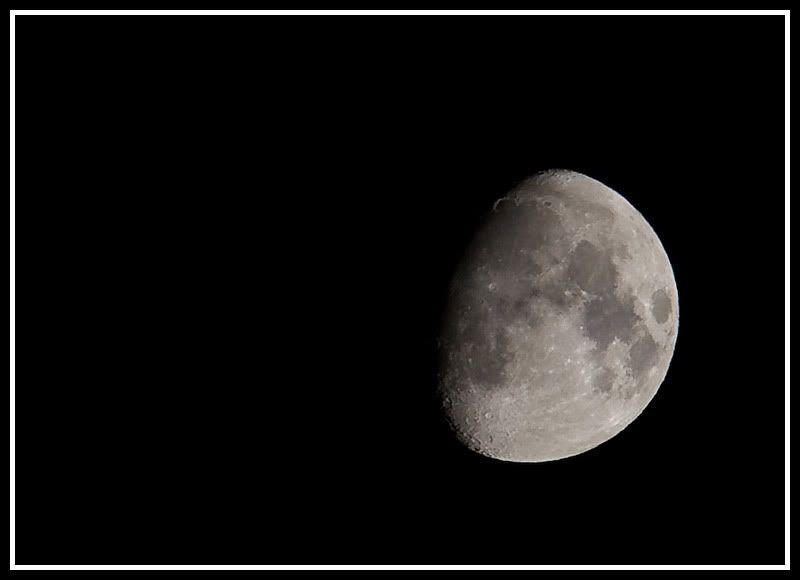
The Moon with a halo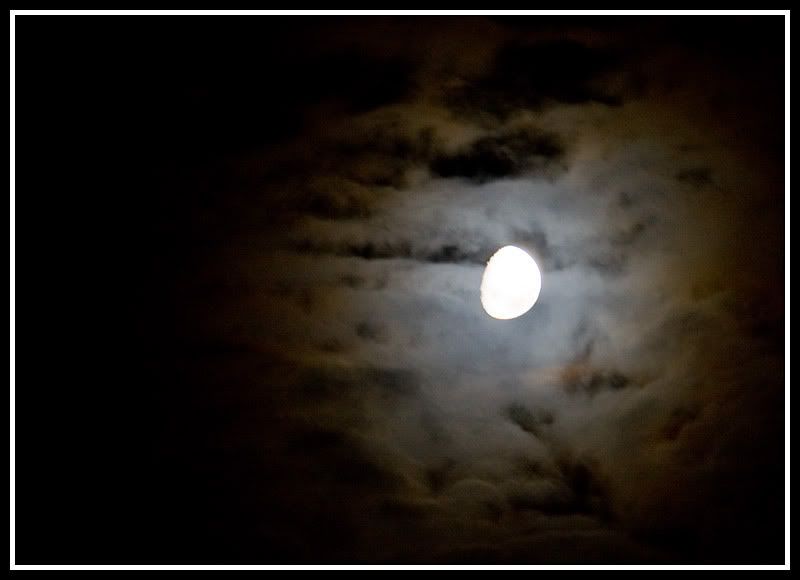
Jupiter and the Moon - Earlier in the evening than Yesterdays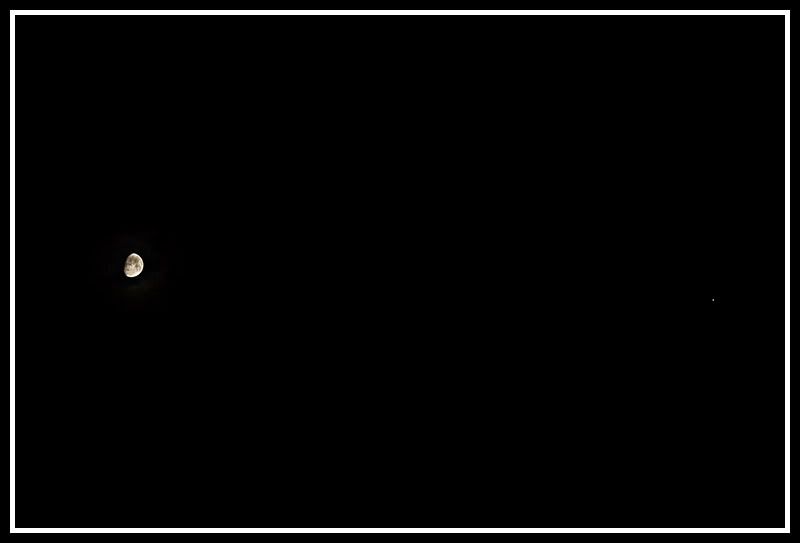
I noticed that the Moon shot from last night had some v subtle colouring, so I pushed it in processing.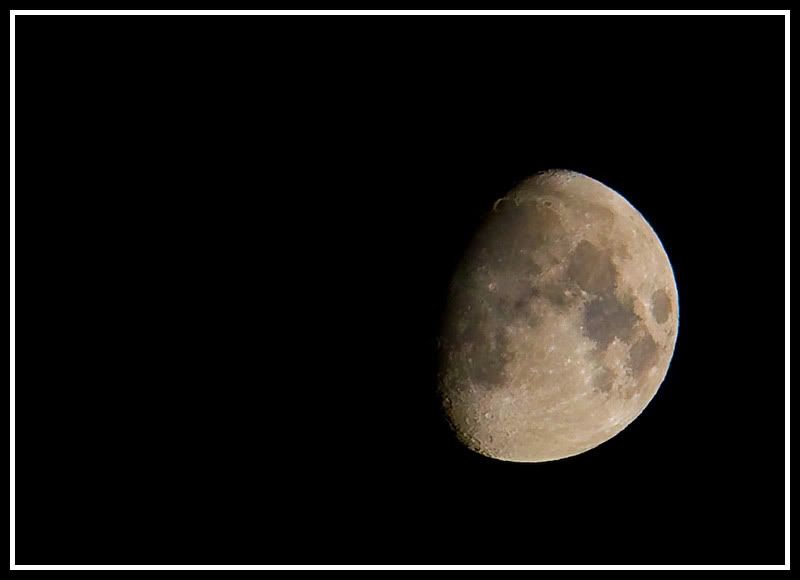
Of course, the clouds were back in force within an hour of taking those shots, and theres no sign of them shifting again.
Thursday, 4 September 2008
A perseid and a flare
Firstly, I missed one... Oops. I managed to catch an early perseid and didn't post it.... Anyway, time to rectify that..
The sky looked quite clear early on Monday evening so I set up the satcatcher. Of course within 10 minutes the sky had been blotted with clouds. I left it setup as my targets were a -8 and a -6 flare. Always worth a try. Anyway, with only a couple of minutes to go, a large gap appeared in just the right location for the -8. The alignment was a bit of a rush job, so the flare isn't as central as I would have liked, but at 74mm that becomes all the harder and more demanding. I really must remember, that for rushed setups no longer than 55mm.