I wrote up a tutorial on doing these earlier...
Ok I thought I'd write this up, as it's been discussed several times. So, here's a quick guide for getting started with Astro Photography. The full blown deep sky imaging requires a lot of expensive and heavy equipment to do properly, unless you're like me and make do with cheaper stuff and push it as hard as it'll take, and sometimes beyond, of course :D.
All you need for this is a Camera and a Tripod. I've done these with my Z2 and the 450d. The Z2 sensor is really too small and the ISO handling not good enough, but it works nonetheless.
You want to use a wideish lens. I typically use the 18mm end of the 450d kit. Set the lens aperture to wide open, forget about the sweet spot, you are looking to gather as much light as possible, if you want to get as many stars as possible in the end picture. Set the ISO to the highest you can, that the camera will be able to control the noise reasomably on, for the consumer Canon this appears to be ideal at 800. Set the Shutter to 30 seconds, this appears to give the ideal exposure time at 18mm, before star trailing becomes noticeable (it'll be there, but it's likely to be so small, you won't see it). Make sure you are set to shoot in RAW, then take at least 10 exposures at these settings, as the number of individual shots increases, the more detail you get, but... the more the resulting image will be affected by field rotation (appears as smearing in the top right and lower left corners). I'd recommend using mirror lockup and a remote or the camera self timer (I've used both).
Once you have captured the image frames (Lights), you need to then capture some Dark frames. These are exactly the same exposure settings, so 30 seconds at ISO800 in the same temperature conditions (don't take the camera in) but with the lens cap on. Go for 5. These are used in the stacking process to remove sensor noise and hot pixels. This is the equivalent of having in camera long exposure noise reduction turned on but allows you to spend more time capturing light frames, as the exposure time for each frame doubles if you turn it on in camera.
Load all the images, lights and darks into Deep Sky Stacker using the appropriate option when you load them in. These are called subs (or sub frames). Then click Register, taking the defaults and allow DSS to stack after registration. There are a lot of options in here, and it takes quite a bit of time to work them all out, but the defaults will get you going. Once the stack is finished, DSS will load the resulting file and it'll look possibly quite odd. This is DSS carrying out it's own algorithms to stretch the data and pull out the detail. This does work, but requires some playing around and experimenting, and to be honest, is not the easiest thing to do. So for now, save the image, and select the embed adjustments but don't apply option.
Load up the TIF in your editing package, and prefer for some fun... This is where things get tricky. You need to now use curves (or levels for those who don't have a curves tool, there's a filter for Elements Widows that provides curves) to stretch the histogram. You're looking to change it from an almost vertical bar on the left hand side to a broad shape.
This is the sort of thing you are looking to do (I'm not very experienced at this bit as yet, and it takes me a lot of messing to get to a result I'm happy with, I'm sure there are people here who'd be able to make a far better job of this step in much shorter time)...
But basically you are looking to apply curves something like these. Not necessarily in this order or severity, maybe stronger curves would work better, it depends on what details are in your image, but it gives the general idea. 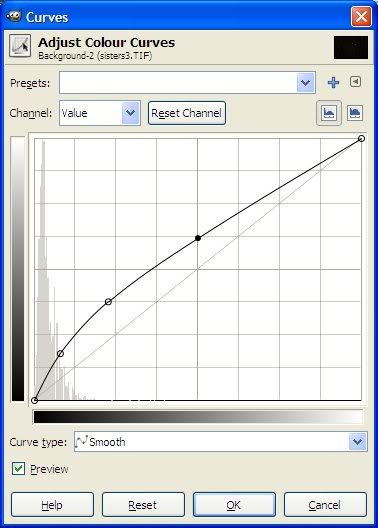
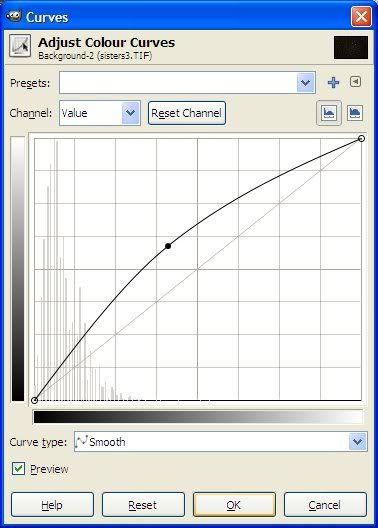
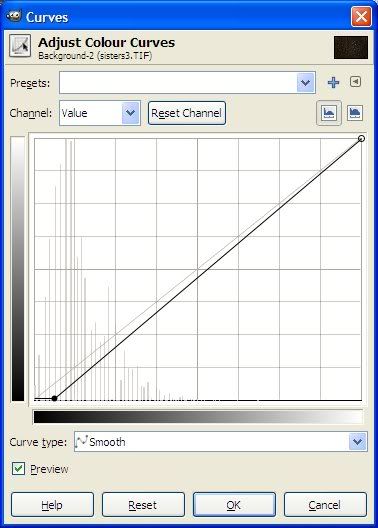

When you have finished this, you should get a reasonable resulting image. Here's a couple I did in exactly this way in August (the moon was down, and the skies were pretty dark).
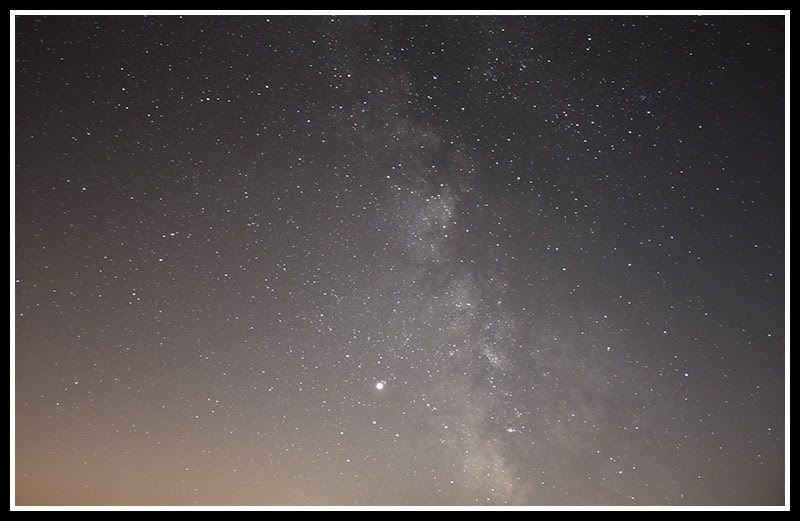
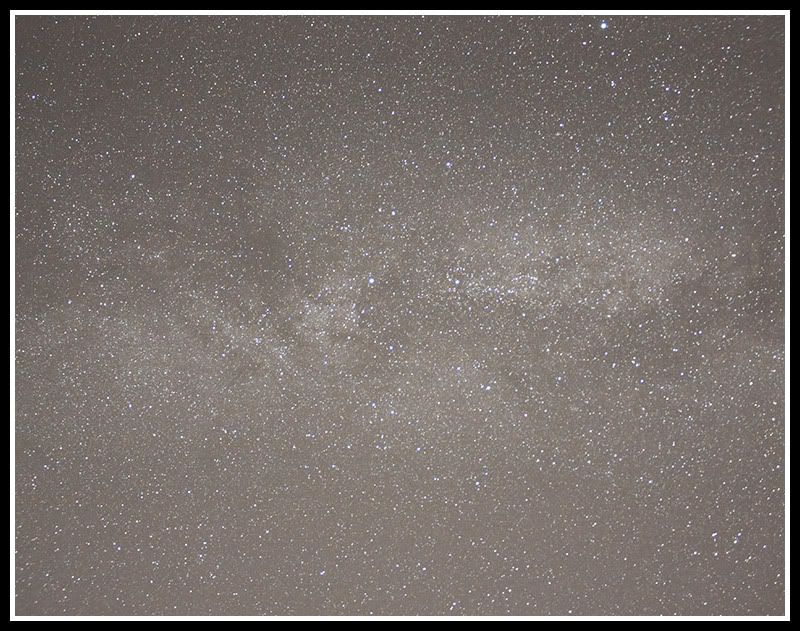
I hope this is helpful to someone.
Friday, 9 January 2009
Basic Widefield Astrophotography
Subscribe to:
Post Comments (Atom)


2 comments:
This tutorial has been helpful. I'm starting some research into technique to produce some wide field Milky Way images with specific local landmarks in silhouette. Is there a way to do this manually without the "Stacker" software, since I'm so far only trying to produce a few images?
Glad it's been of help. The only thing I can think of would be to use a very short focal length lens, to minimise trailing over a longer exposure and push the sensitivity of the sensor as for as it will go. Tracking the sky will cause the foreground elements to blur...
Post a Comment